Calling Shinjuku: Betsy — Tune-up Notes & Full Card Breakdown
Table of Contents
Editor’s note: This guide was machine translated from Japanese and manually corrected and edited to fit Valahai’s formatting and use correct card names. Expect various language mistakes.
Introduction & Deck Concept
Reasons for Choosing Betsy & Deck Strengths
The main reason I chose Betsy this time is the overwhelming power of her two-handed weapon, Pile Driver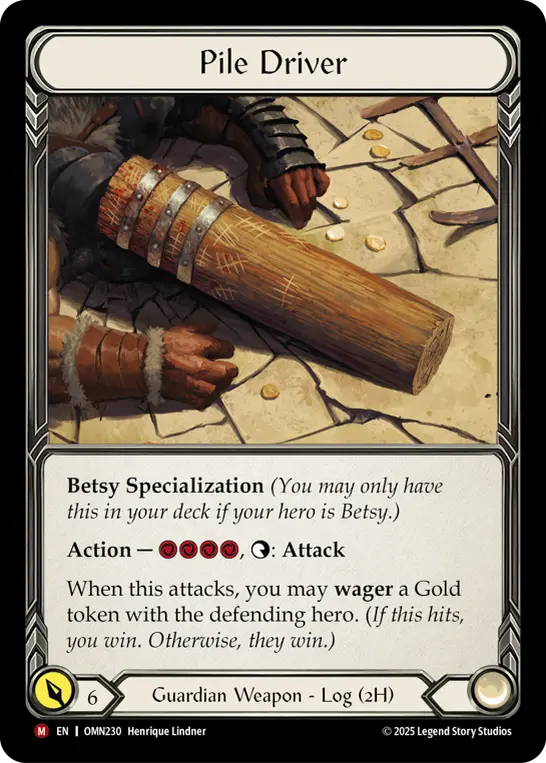 . Its greatest appeal lies in the ability to switch between a “4-cost, 6-damage” attack and a “6-cost, 7-damage + Overpower” attack depending on the situation, when combined with Betsy’s Hero Power.
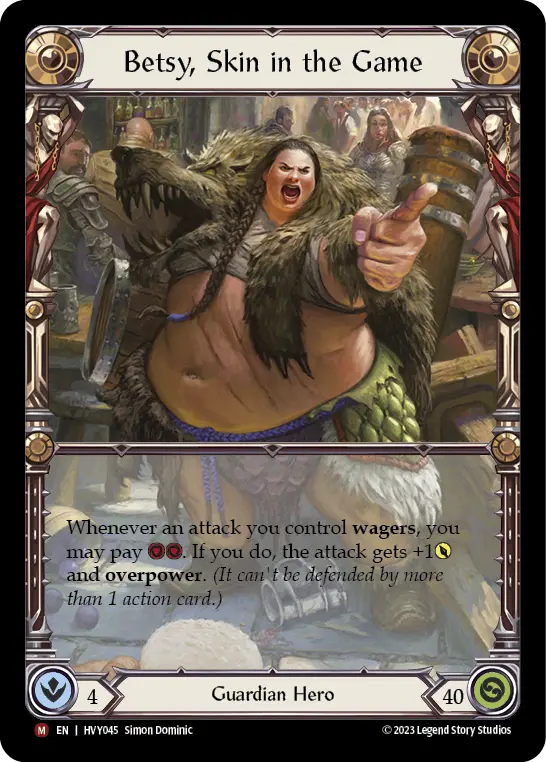
Pile Driver generates a Gold token when its wagered attack lands. Utilizing this Gold further solidifies Betsy’s gameplay. For example, if you know the top card of your deck is a blue-band card, you can pitch one blue-band card from your hand to shatter the Gold token, allowing you to secure resources while unleashing a 4-cost, 6-damage weapon attack—a highly versatile play.
Let’s consider this from the perspective of “expressive value” in Flesh and Blood. If you block an opponent’s attack with three cards in your hand to prevent 9 points of damage, and then generate a 6-point attack from the remaining single blue-band card in your hand, you’re consistently generating “15 points of expressive value” per turn.
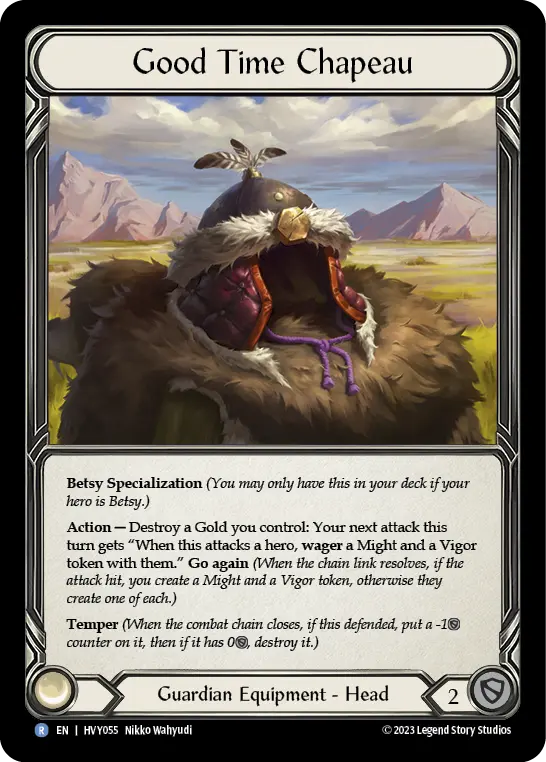
Furthermore, the Gold generated plays a crucial role in covering the activation cost of “Good Time Chapeau.” Since activating it grants a bet to your next attack, this effectively allows you to imbue a powerful attack action with overpower, forcing your way through the opponent’s defenses.
Basic Tactics (Clear Switch Between Offense and Defense)
From the deck-building stage, this deck clearly distinguishes between whether to “win by dealing damage (dominate the damage race)” or “aim for Fatigue (depleting the deck)” depending on the opposing hero.
-
Heroes to beat by dealing damage: Cindra, Mario, Vynnset, Jarl, Valda, Huntsman, Rhinar
-
Heroes to Fatigue: Ira, Zyggy, Kassai, Gravy, Aurora, Puffin, Fang, Dorinthea
As shown above, the core strategy for running this deck is to clearly switch between offense and defense for each matchup and accurately swap out cards from the sideboard to fulfill their respective roles.
Matchup Advantages and Disadvantages
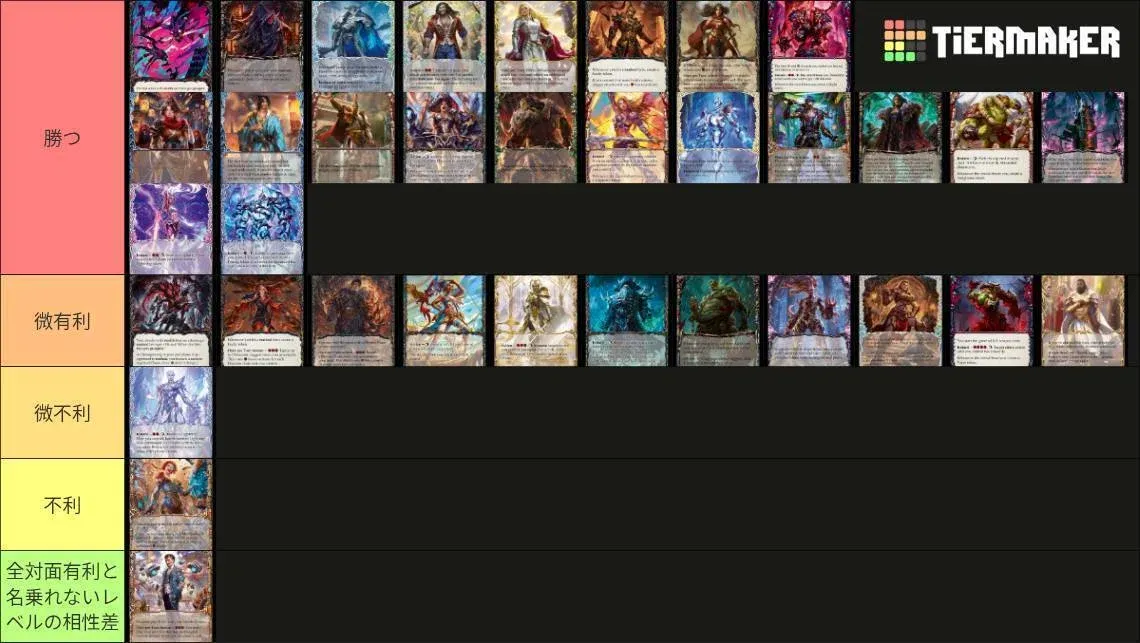
The only confirmed disadvantages are against Zyggy, Dash, and Teklovossen.
Decklist
Calling新宿 ベッツィ 更新Classic ConstructedArena cards13
- 1×Arcanite Fortress
- 1×Arcanite Skullcap
- 1×Boots of Omnis Ward
- 1×Civic Steps
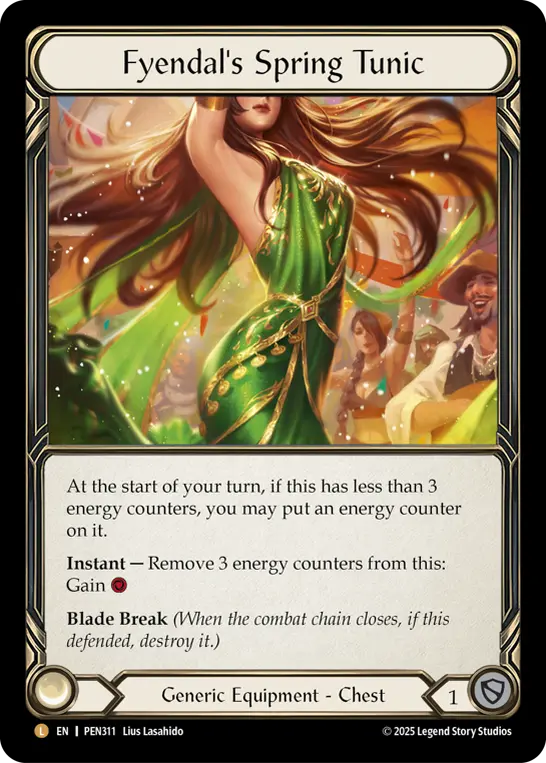
- 1×Fyendal's Spring Tunic
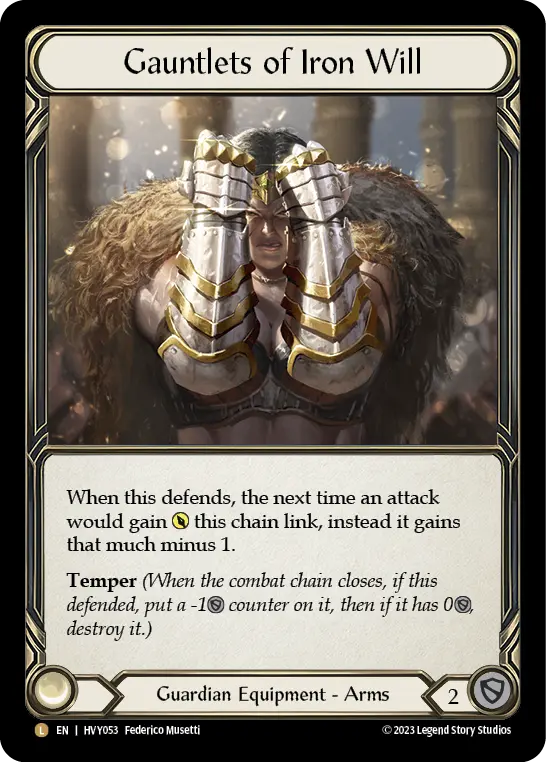
- 1×Gauntlets of Iron Will
- 1×Good Time Chapeau
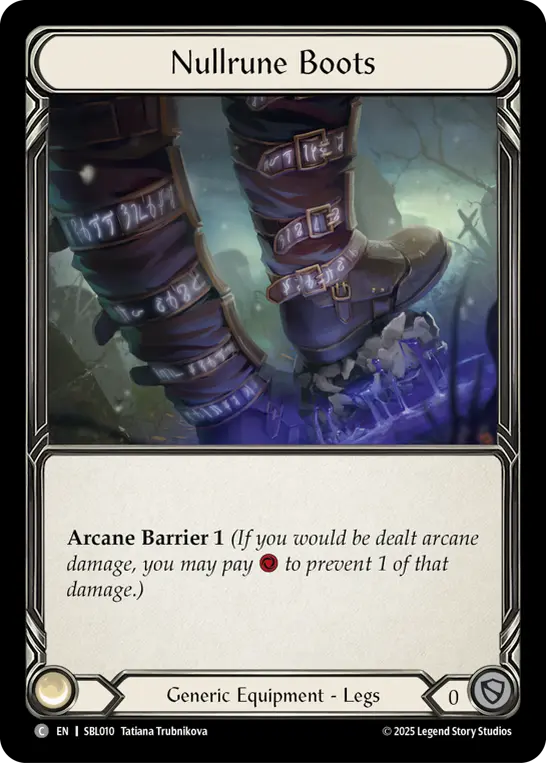
- 1×Nullrune Boots
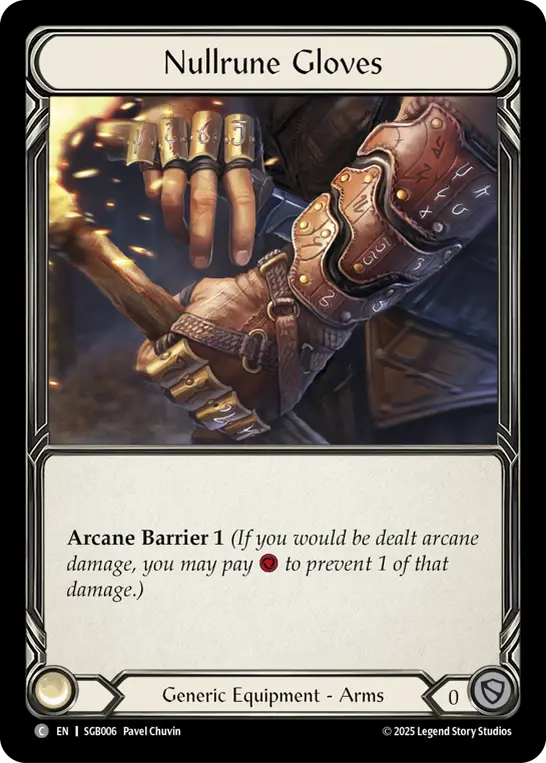
- 1×Nullrune Gloves
- 1×Pile Driver
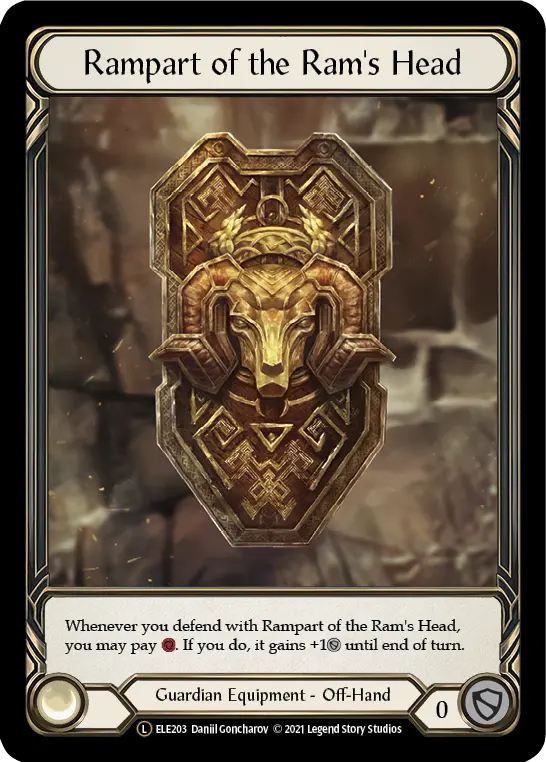
- 1×Rampart of the Ram's Head
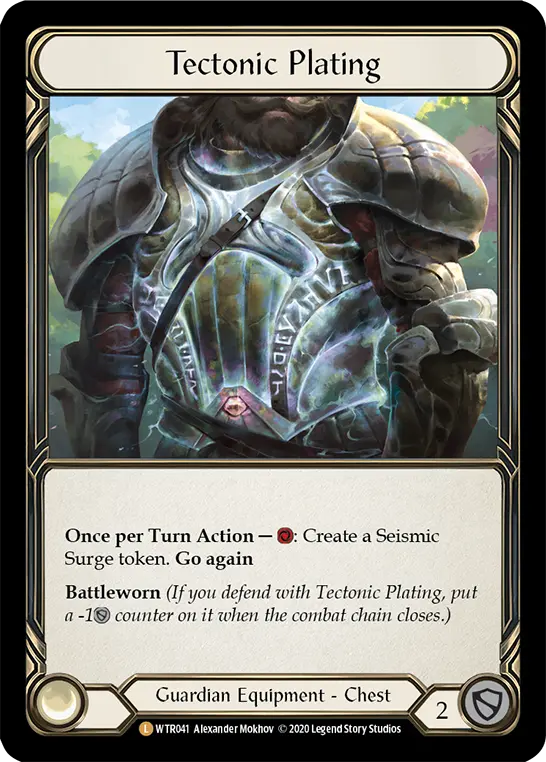
- 1×Tectonic Plating
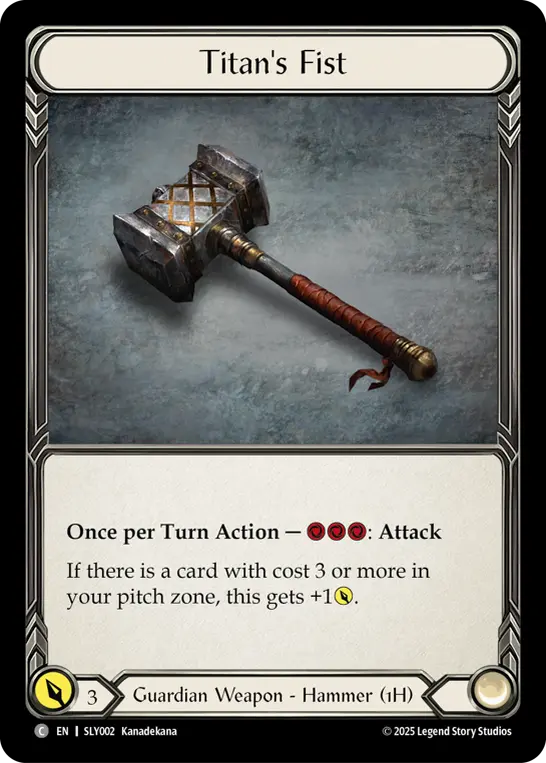
- 1×Titan's Fist
Red32
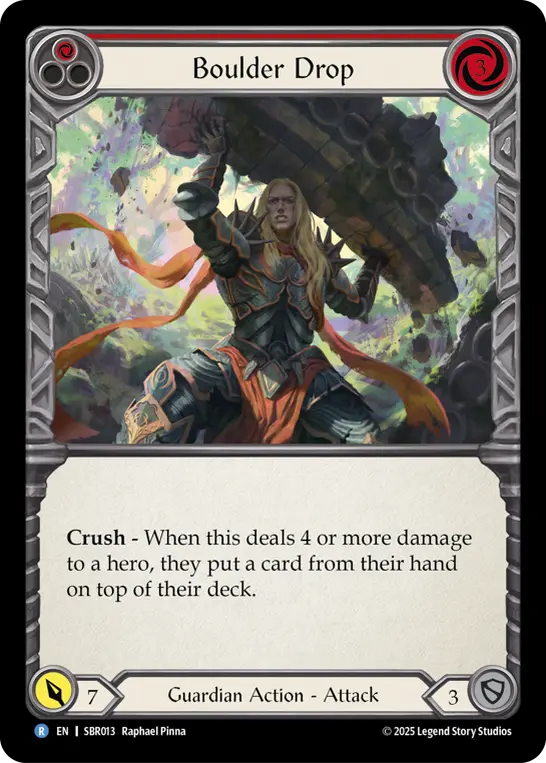
- 3×Boulder Drop
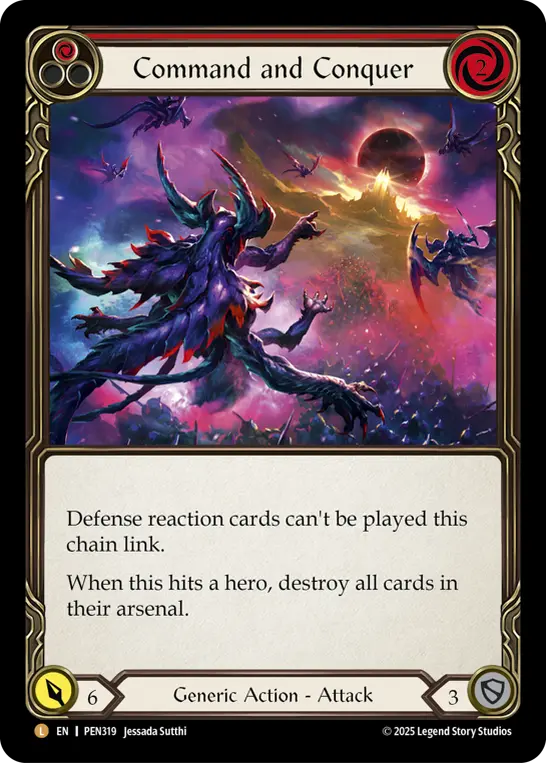
- 3×Command and Conquer
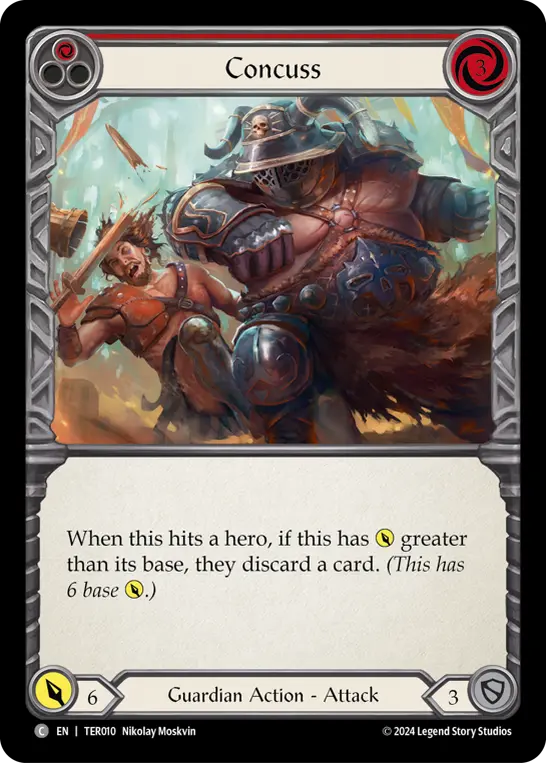
- 1×Concuss
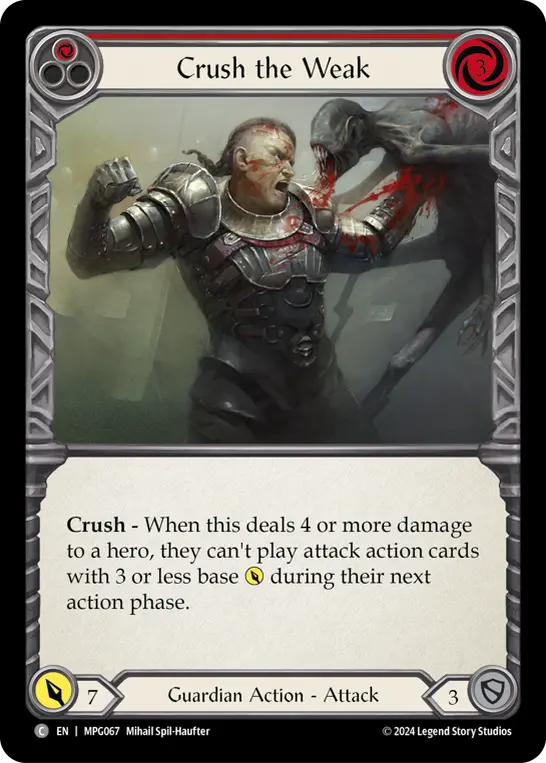
- 2×Crush the Weak
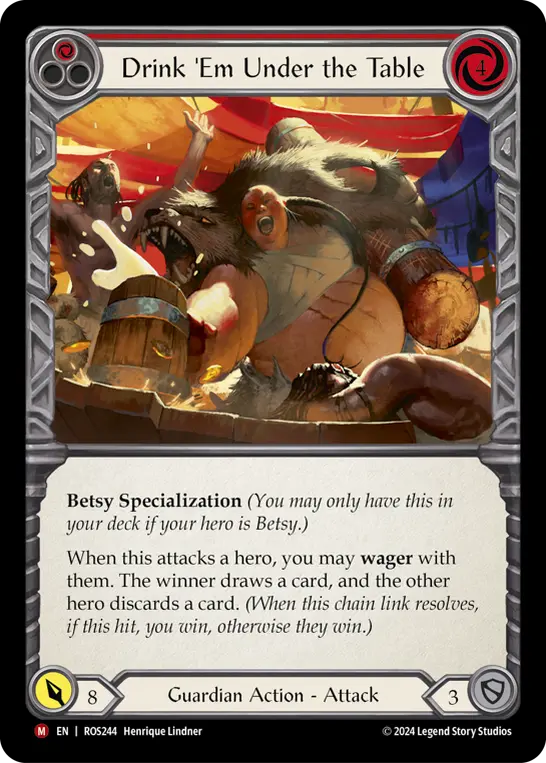
- 3×Drink 'Em Under the Table
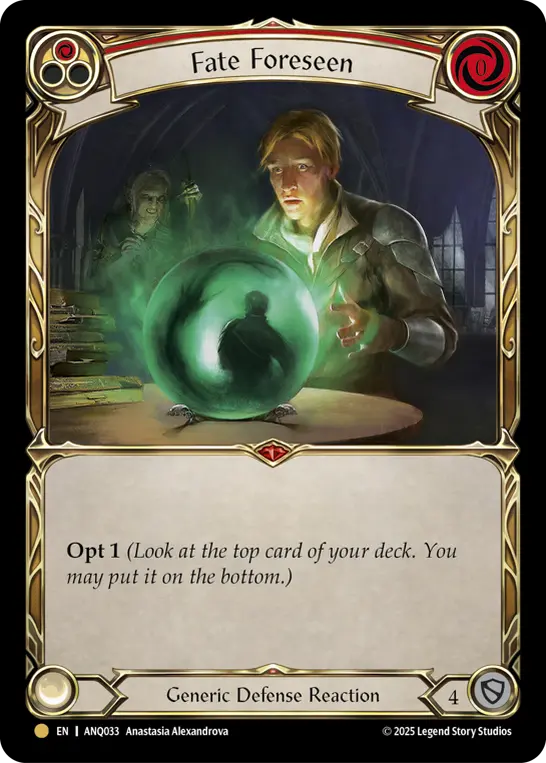
- 3×Fate Foreseen
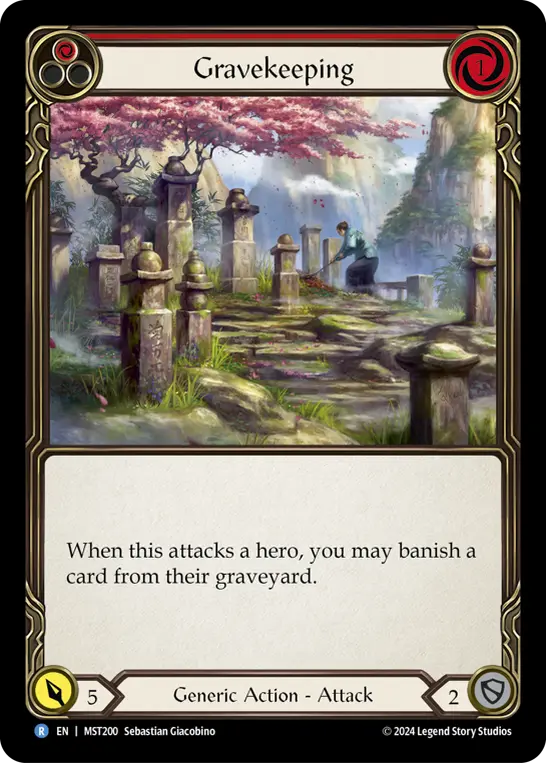
- 1×Gravekeeping
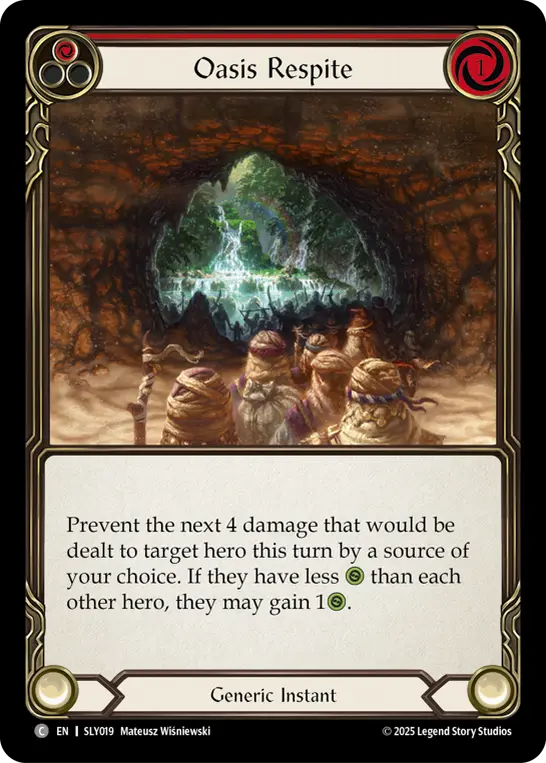
- 3×Oasis Respite
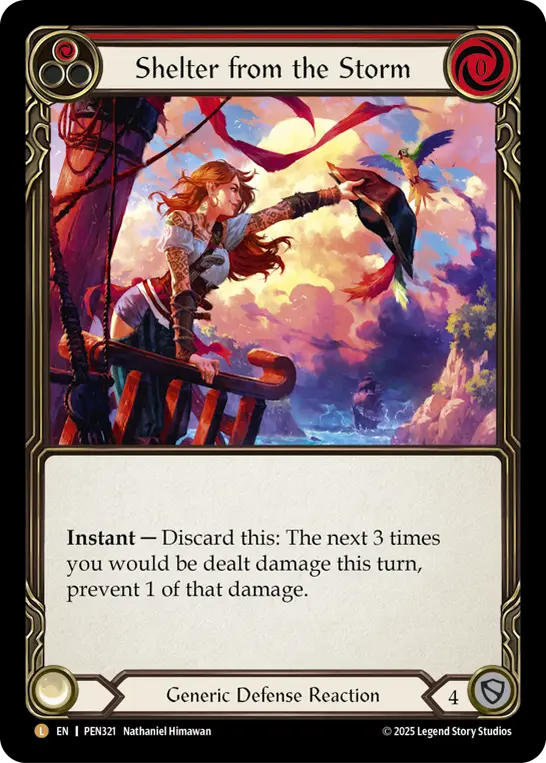
- 3×Shelter from the Storm
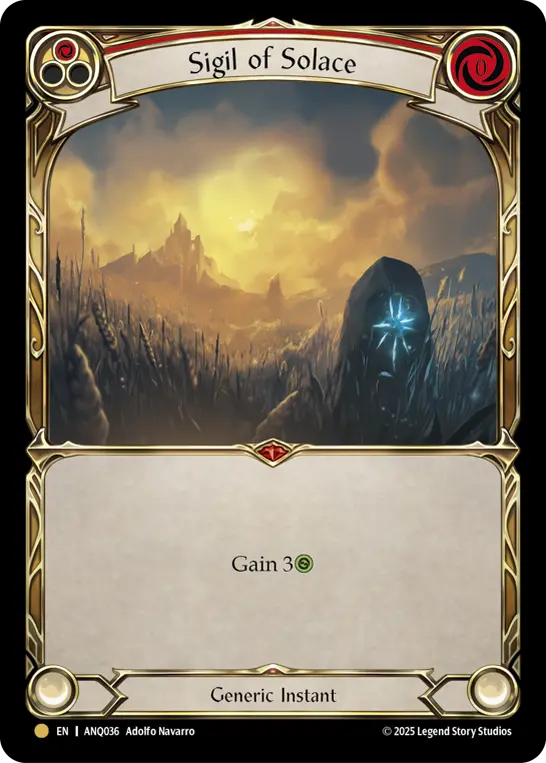
- 2×Sigil of Solace
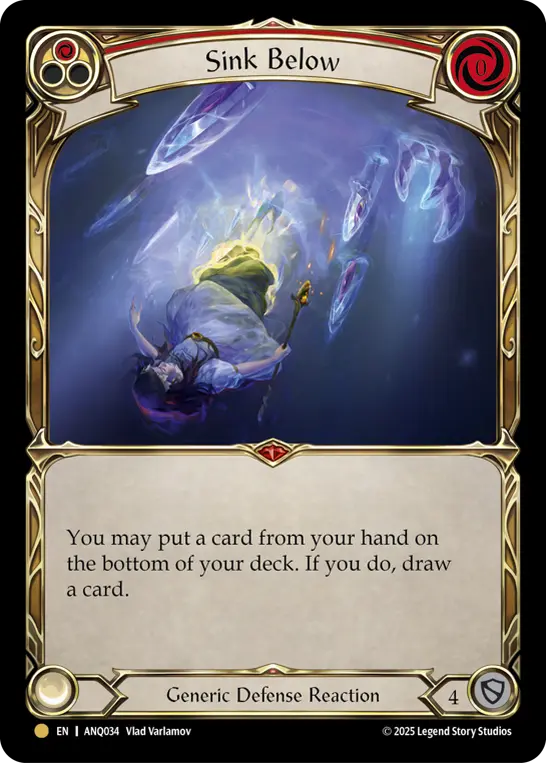
- 3×Sink Below
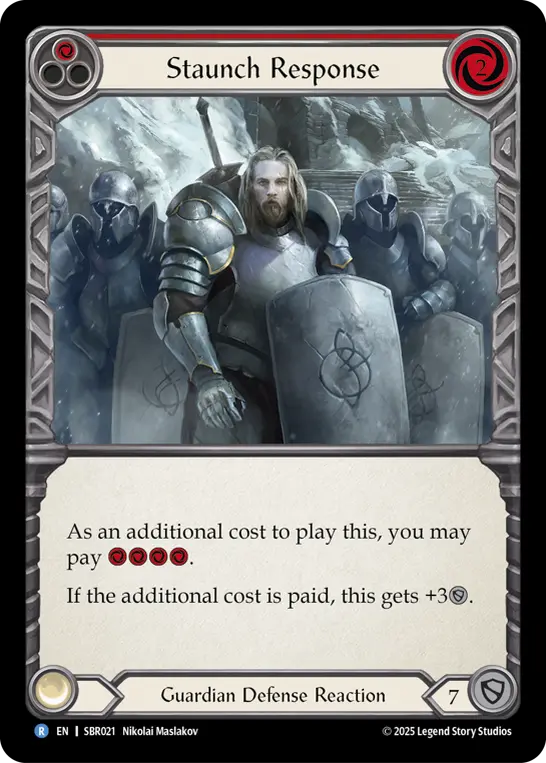
- 2×Staunch Response
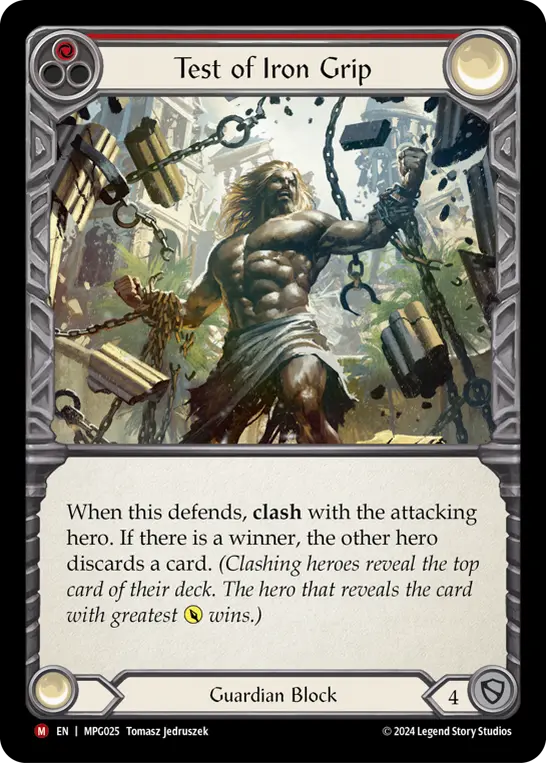
- 3×Test of Iron Grip
Yellow4
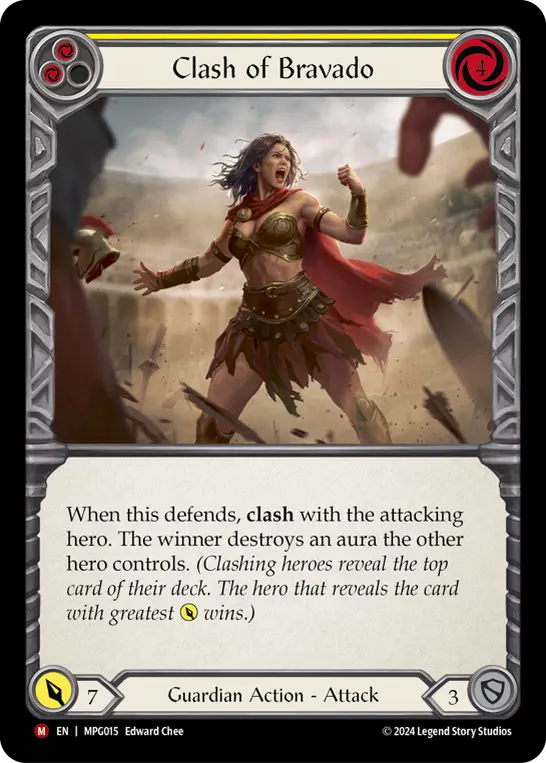
- 3×Clash of Bravado
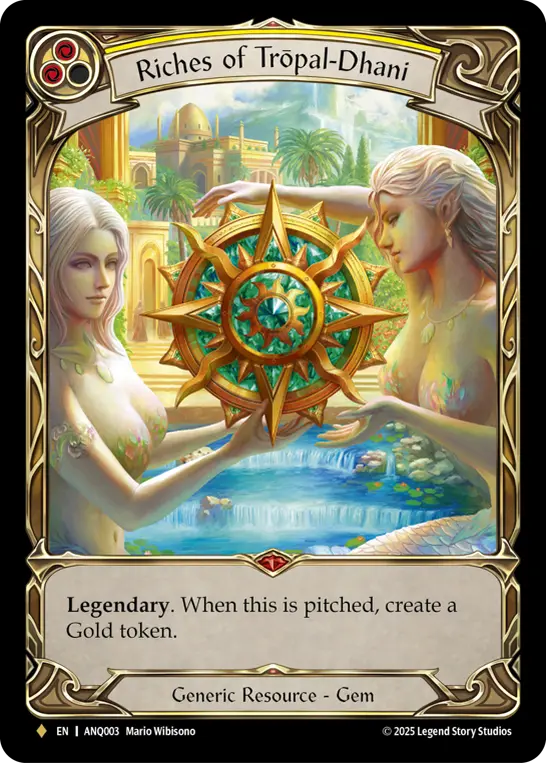
- 1×Riches of Trōpal-Dhani
Blue31
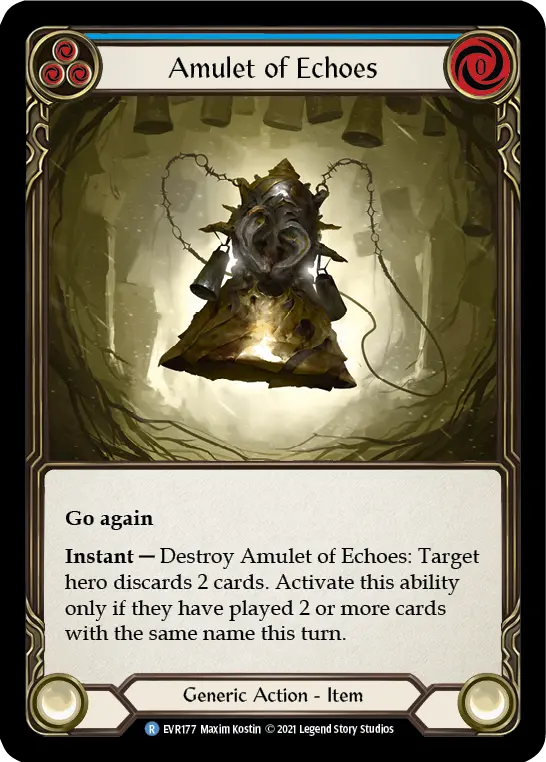
- 2×Amulet of Echoes
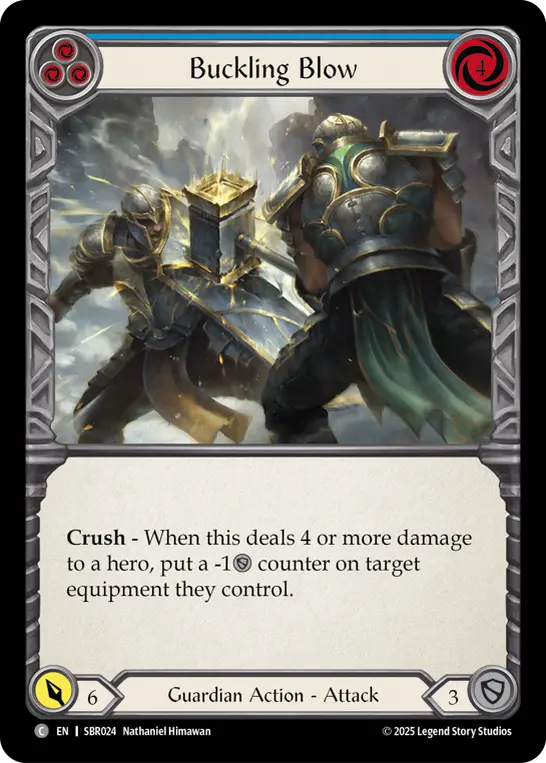
- 1×Buckling Blow
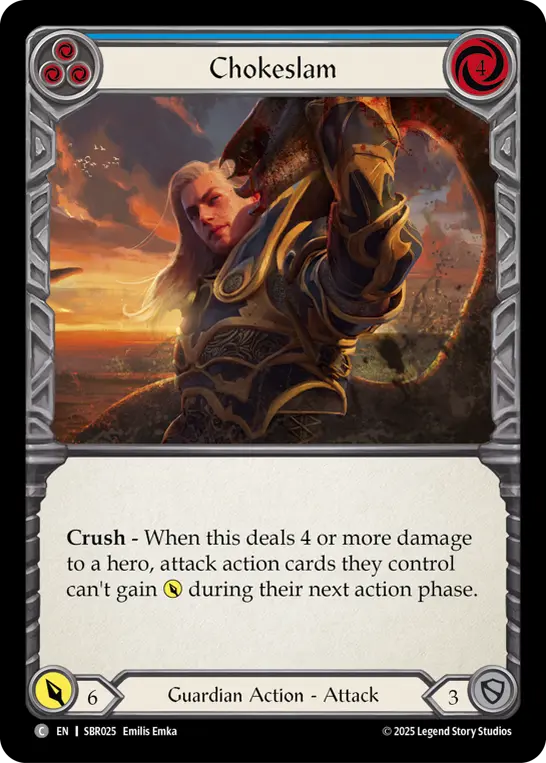
- 1×Chokeslam
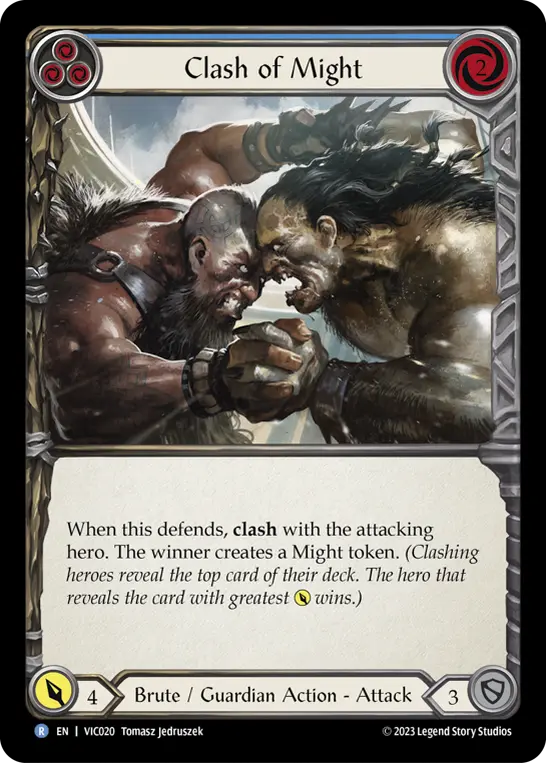
- 1×Clash of Might
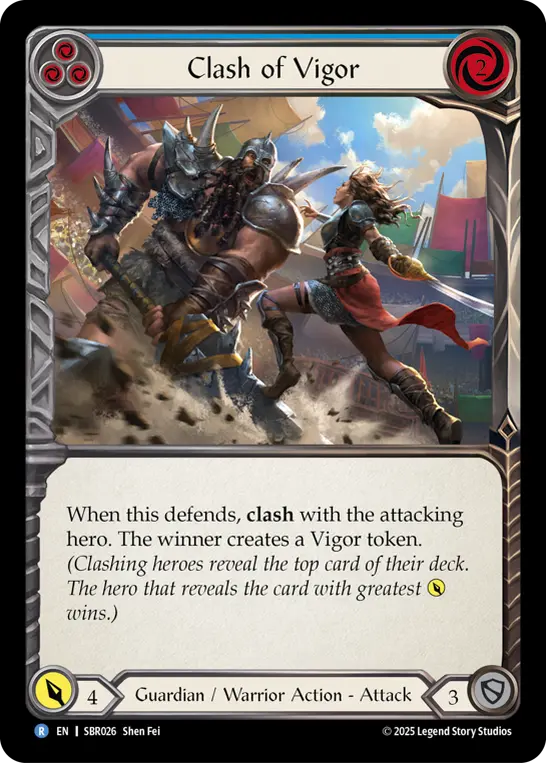
- 3×Clash of Vigor
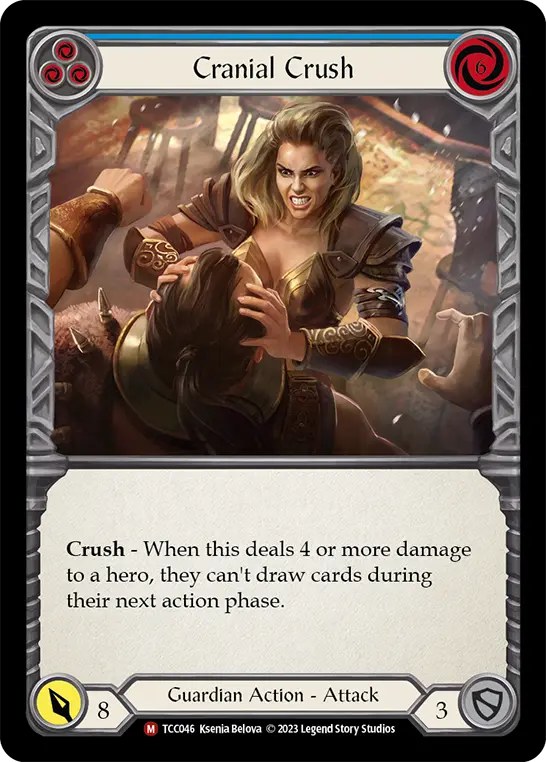
- 1×Cranial Crush
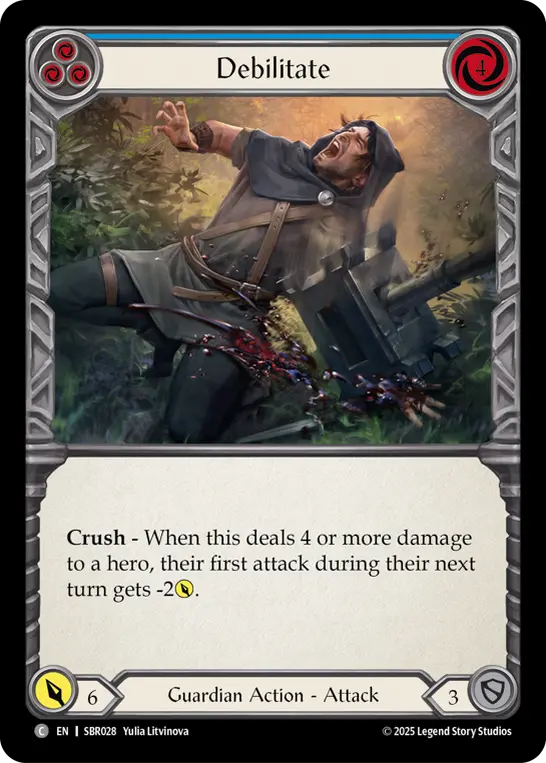
- 1×Debilitate
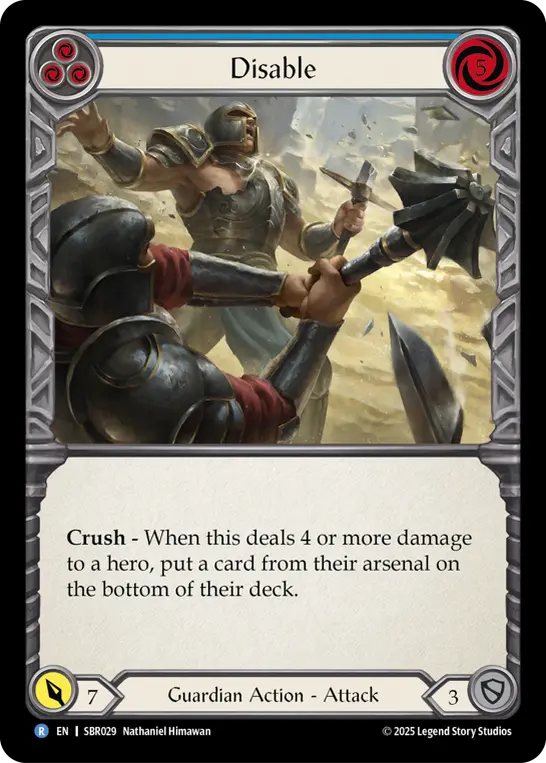
- 1×Disable
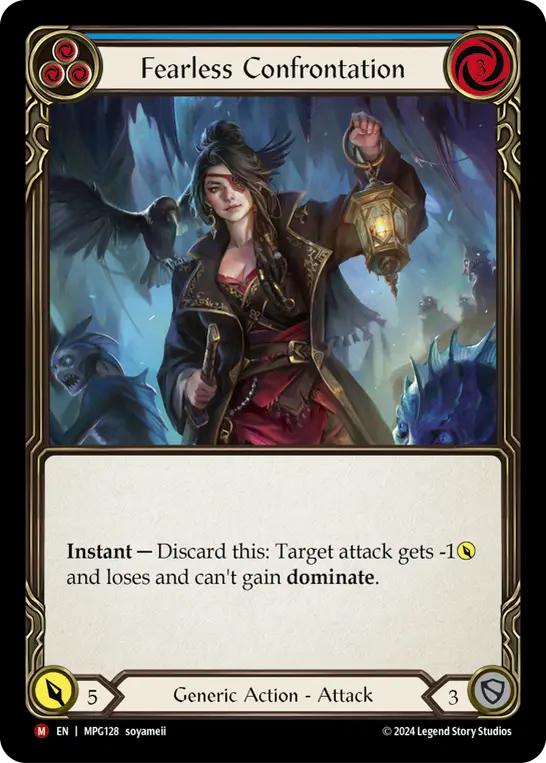
- 3×Fearless Confrontation
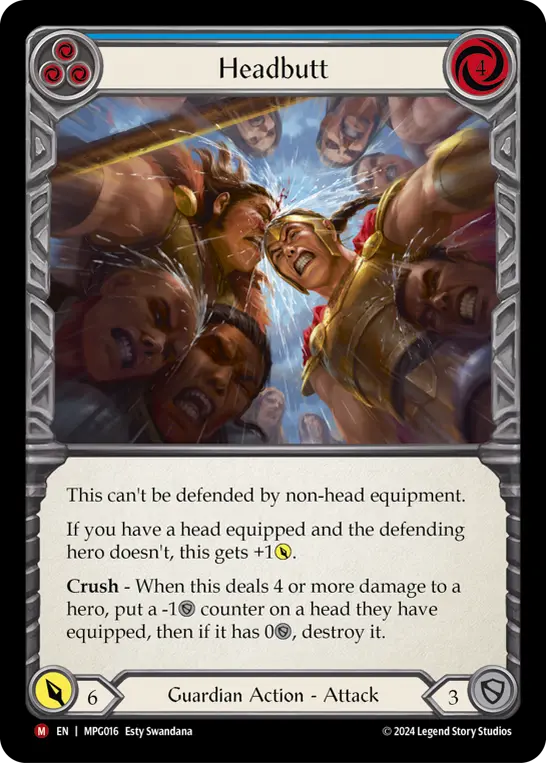
- 1×Headbutt
- 1×Heart of Fyendal
- 2×Macho Grande
- 3×Nerves of Steel
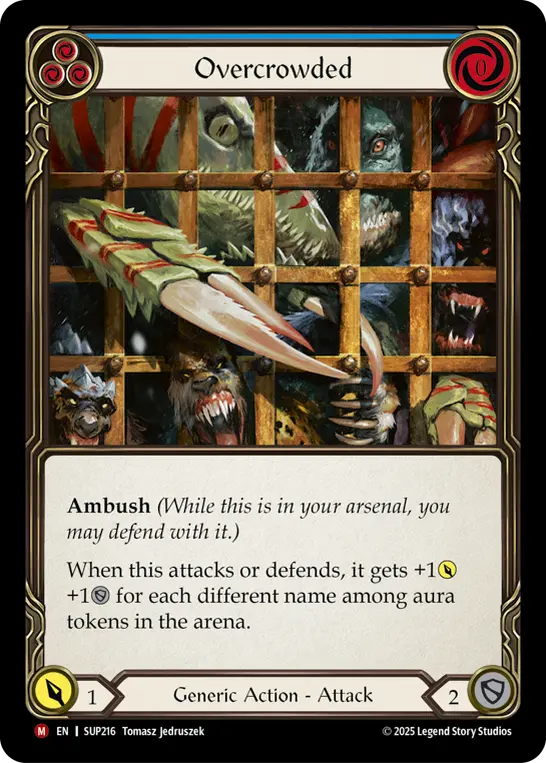
- 1×Overcrowded
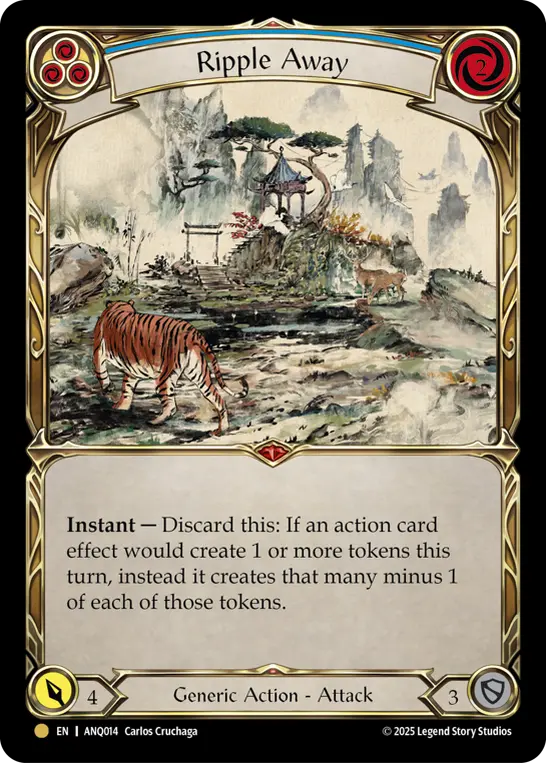
- 3×Ripple Away
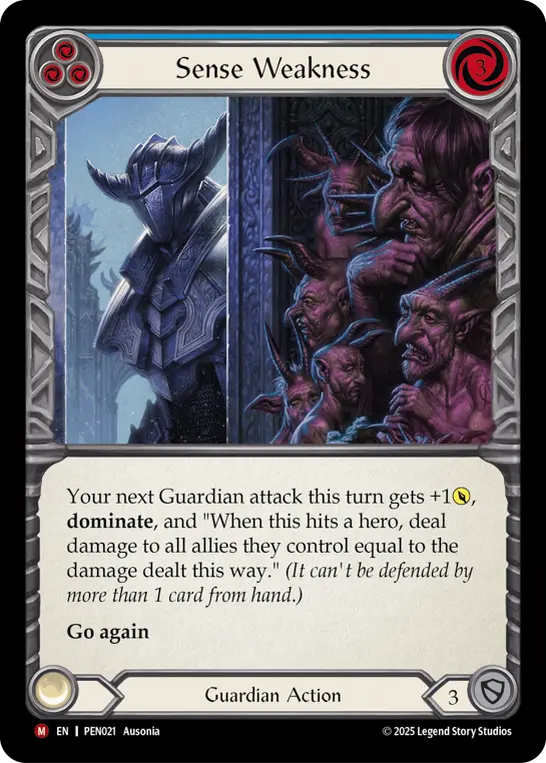
- 1×Sense Weakness
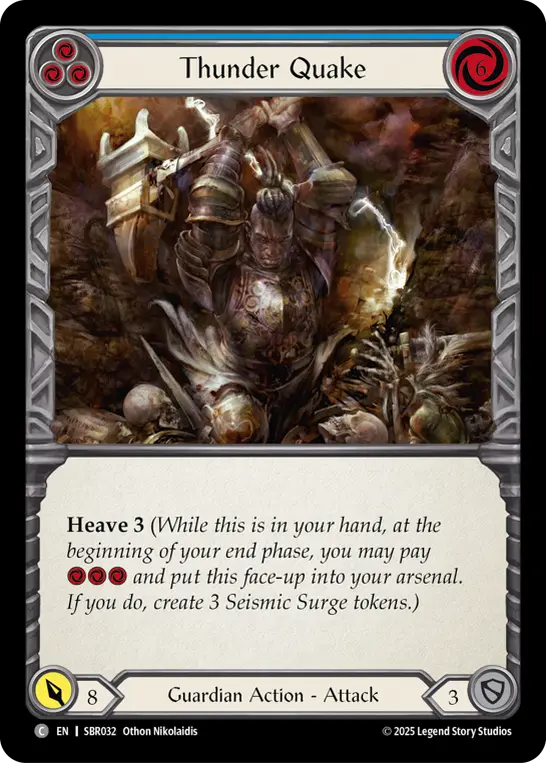
- 1×Thunder Quake
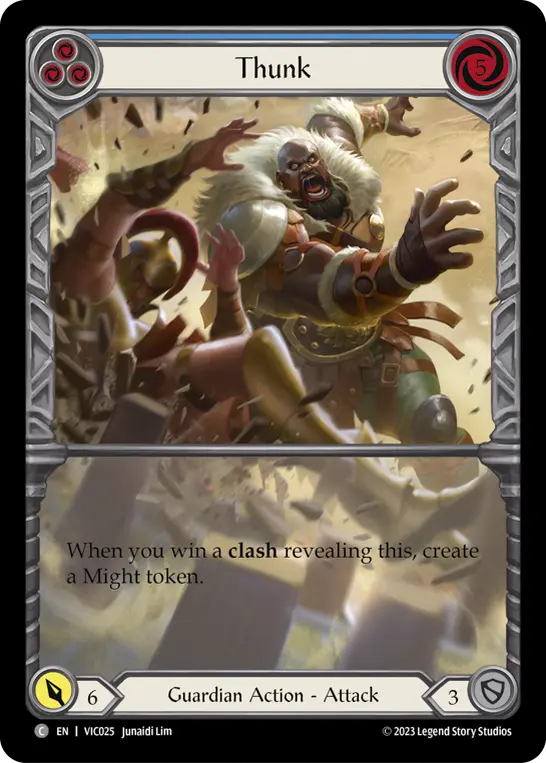
- 3×Thunk
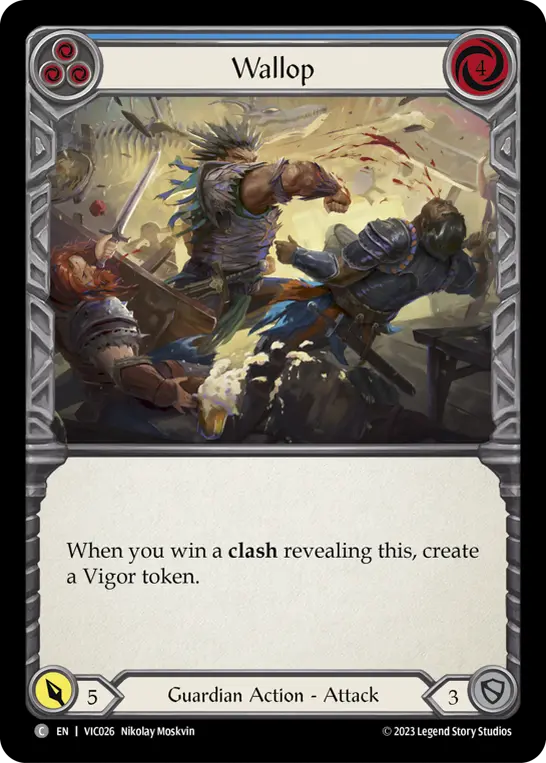
- 1×Wallop
Note that the deck on FaBrary may differ slightly from what is presented in this article.
Equipment Explanation
These are equipment items that are flexibly swapped out depending on the matchup. I’ll explain the reasoning behind each choice and in which matchups they should be equipped.
Head Equipment
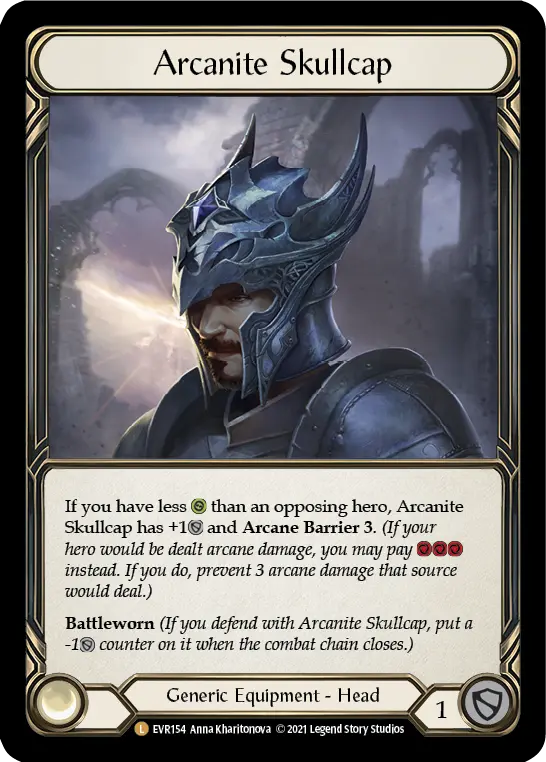
Arcanite Skullcap – Included specifically for matchups against Oscilio.
Good Time Chapeau – This is the default headgear. I wear this in “all matchups” other than the Oscilio matchup mentioned above.
Chest Equipment
Tectonic Plating – I include this primarily for matchups against Ira and Kassai.
Fyendal’s Spring Tunic – Worn as the default chest equipment for a wide range of encounters other than those against Oscilio, Kassai, and Ira.
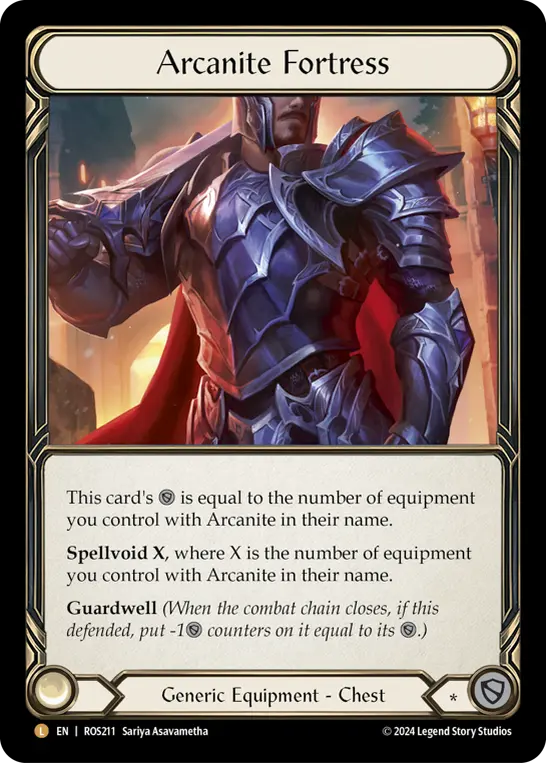
Arcanite Fortress – This is chest equipment exclusively for encounters against Oscilio.
Arms Equipment
Gauntlets of Iron Will – Used as the default arm equipment against all opponents except Oscilio.
Nullrune Gloves – Equipment specifically for matches against Oscilio. Equipped to counter Arcane damage.
Legs Equipment
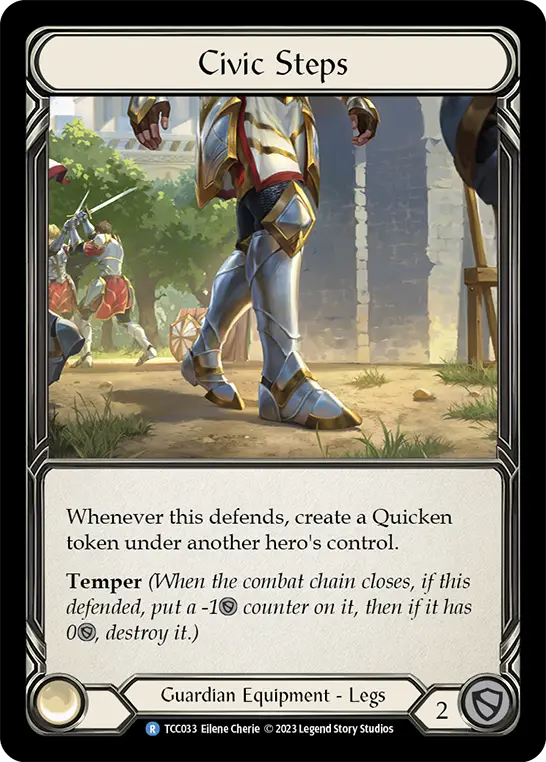
Civic Steps – The default leg equipment. Choose this if you’re unsure.
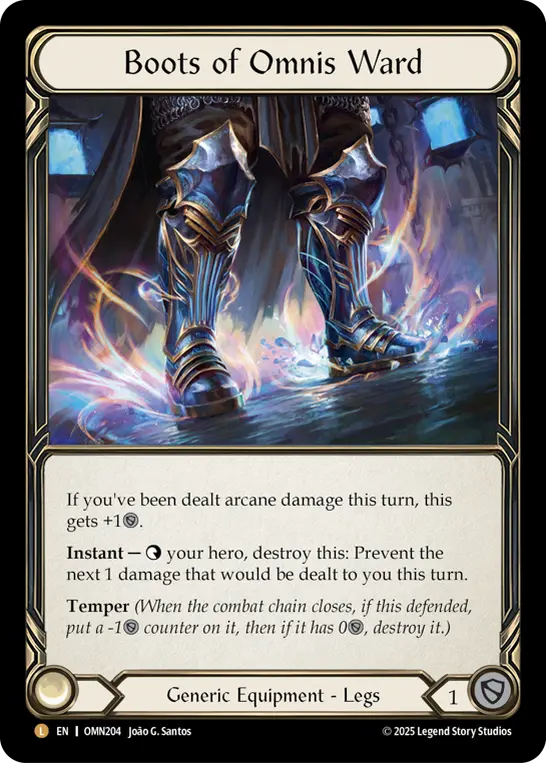
Boots of Omnis Ward – Used specifically for Mario matchups when playing second.
Nullrune Boots – Used for matchups against Oscilio, Vynnset, and Zyggy. Switch to these when facing opponents that require Arcane damage mitigation.
Weapons and shields
Pile Driver – This is the main weapon for this build. Generally, you’ll wield this as a two-handed weapon to execute your primary strategy.
Titan’s Fist & Rampart of the Ram’s Head – Against opponents like Kassai, Ira, Fang, Puffin, and Gravy. The defense provided by the shield is essential, so I include this set to adopt a one-handed weapon plus shield stance.
Explanation of All Cards in the Main Deck
Red cards
These are the cards that form the backbone of our offense, along with the defensive reaction cards that serve as the core of this deck.
- 3x Boulder Drop – This is a devastating attack card against heroes like Sindra, Mario, Oscilio, and Fai, who rely on using all four cards in their hand to play effectively. We’ll actively play this against them. However, it’s safer not to play it against DIO.
- 3x Command and Conquer – A powerful card that needs no introduction. Its role is to target the opponent’s arsenal and disrupt their tempo.
- 1x Concuss – Its role is essentially that of a “slightly weaker Boulder Drop.” We’ve included one copy to pad out the hand destruction slot.
- 2x Crush the Weak – Included primarily to counter Syndra and Mario matchups. In matchups where these aren’t effective, it’s a candidate for sideboarding out.
- 3x Drink ‘Em Under the Table – Betsy’s mainstay action. While we can no longer use “Remembrance” and can’t recycle it like we used to, it still functions as a powerful trump card.
- 3x Fate Foreseen – An excellent defensive reaction. Since it’s crucial for Betsy to check the top of her deck using Opt (Divination) or Clash, this card is invaluable in supporting that strategy.
- 3x Shelter from the Storm – Included as a pure defensive reaction (DR). It’s a key component for solidifying the deck’s defense.
- 3x Sink Below – This is a top-tier defensive reaction. It’s extremely powerful because it provides high defense while allowing you to swap cards in your hand, thereby improving the quality of your hand for the next turn.
- 2x Staunch Response – This is also included as an additional defensive reaction (DR). By spending resources to generate massive defense, it contributes to Fatigue (running out of deck) tactics.
- 2x Sigil of Solace – This is a countermeasure against opponents like Osilio, Mario, and Syndra who can unexpectedly deal lethal burst damage (suddenly killing you). Instant life recovery can make all the difference.
- 3x Oasis Respite – While its primary role is to counter Oscilio, the significant benefits of damage reduction and life gain make this a crucial card in virtually any matchup.
- 3x Test of Iron Grip – The best play is to use Opt or a similar card to peek at the top of your deck before playing it, ensuring you’re in a winning position. However, depending on the situation, you may need to make a decisive call to play it regardless.
- 1x Gravekeeping – I’ve included one copy primarily for Gravy. Since two-card Wailer decks have become more common recently, the intention is to use this card to reliably remove at least one of them. It’s also a crucial card against Syndra, as it allows you to steal a turn from your opponent.
Yellow cards
This group of cards serves as pitch options and, depending on the situation, can also be used for blocking.
- 3x Clash of Bravado – This card is excellent because it destroys auras while allowing you to check the top of your deck with virtually no risk. However, I side it out against Ila.
- 1x Riches of Trōpal-Dhani – I include this card because it’s necessary in matchups where I aim to employ a fatigue strategy.
Blue cards
This forms the deck’s resource base and centers on high-cost cards that boost the win rate of Clash. A key feature is the inclusion of a wide variety of cards scattered throughout the deck.
Note: Regarding single-copy Attack Action cards (AA): Many of the AA cards included one at a time throughout the Blue Belt are not intended to be played. These slots are reserved for the purpose of diversifying card names as a countermeasure against “Huntsman.”
- 1x Buckling Blow / 1x Chokeslam / 1x Cranial Crush / 1x Debilitate / 1x Disable / 1x Headbutt / 1x Thunder Quake – These AA slots are included to vary card names as a countermeasure against the Huntsman.
- 1x Clash of Might – Included to check the top of the deck.
- 3x Clash of Vigor – An excellent card that generates 1 resource while allowing you to check the top of your deck. It’s included to enable dealing 6 damage from a single blue card pitch.
- 3x Fearless Confrontation – This card offers flexible play depending on the situation—it can negate an opponent’s Dominate or be used as a 1-point Defense Reaction (DR).
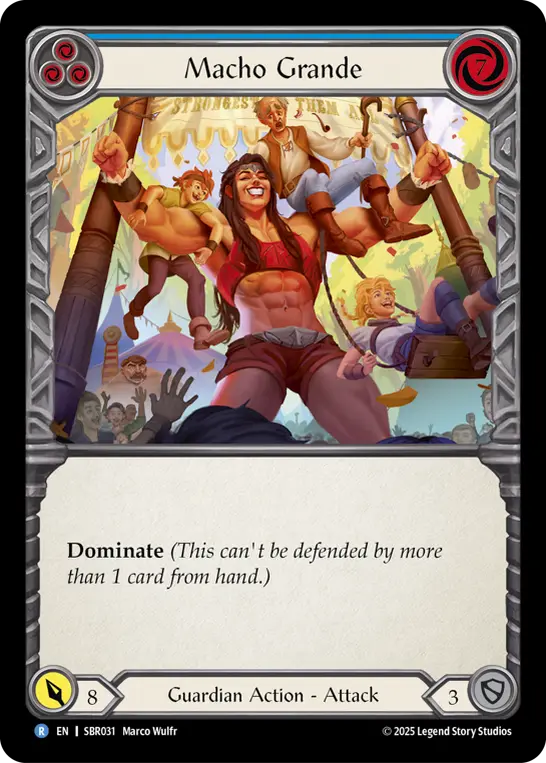
- 2x Macho Grande – Although it’s a blue-band card, there are situations where it’s worth playing and utilizing.
- 1x Overcrowded – This card serves as a countermeasure against Codex of Frailty
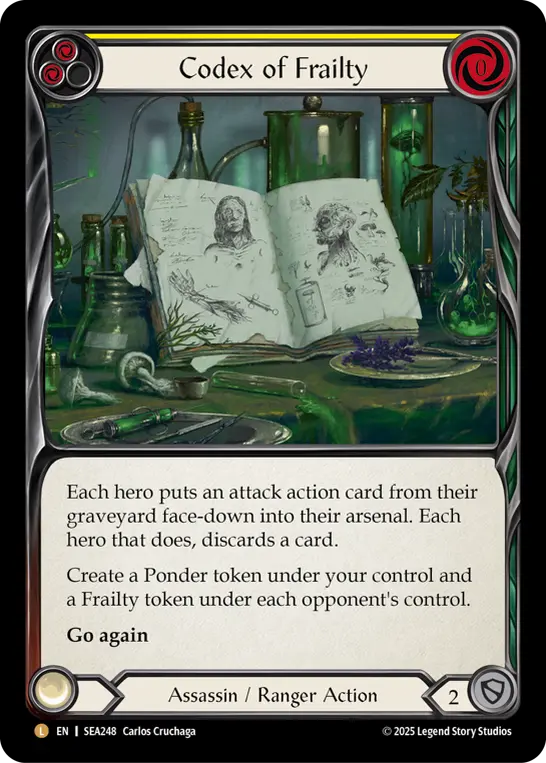 decks.
 - 3x Ripple Away – This card is primarily effective against Vin, Puffin, and Kassai matchups.
- 3x Thunk – I’ve included this as a high-power blue-band card—it’s a nice bonus if it gets flipped by Clash.
- 1x Wallop: – Like Thunk, it’s included in case it gets flipped by Clash.
- 1x Sense Weakness – This card is for matches against Kassai. I don’t target it in matches against Vibo.
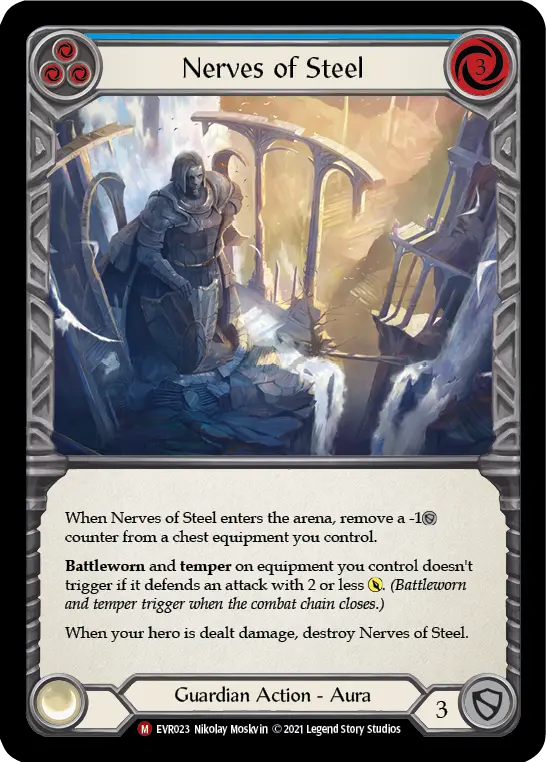
- 3x Nerves of Steel – I’ve included these to completely shut down Ira.
- 2x Amulet of Echoes – I’ve included these with matches against Oscilio, Kassai, Katsu, Rhinar, Zyggy, and Aurora in mind.
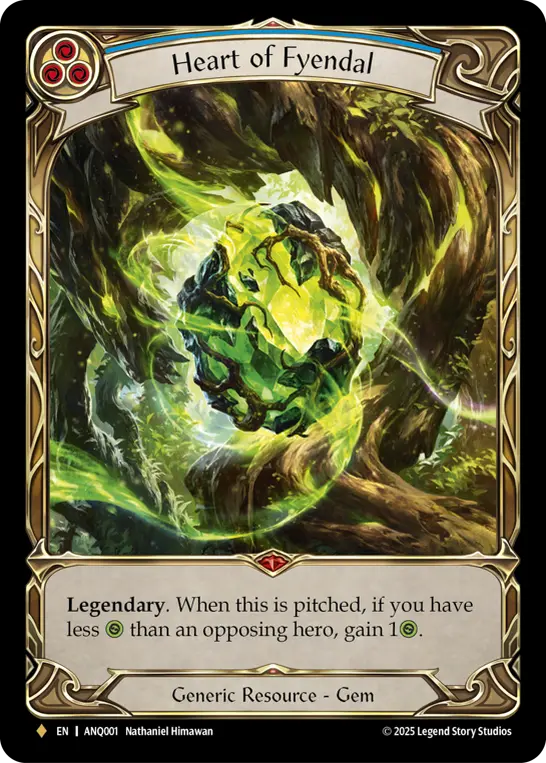
- 1x Heart of Fyendal – The ability to regain life when you pitch a card is extremely valuable in long matches.
Strategies Against Meta Decks
This deck clearly switches between an “overpower strategy” and a “fatigue strategy” depending on the opposing hero. Here, we’ll explain the playstyle and sideboarding guidelines for each major hero.
⚔️ Matches Where You Choose the Overpower Strategy
These are matchups where you force the value of your weapon, “Pile Driver,” to win the damage race.
-
vs. Cindra – The basic strategy is to fire off 3-cost disruptive attack actions like “Boulder Drop,” “Crush the Weak,” and “Concuss” to gain tempo. While there’s a risk that Cindra will use the Gold you give them to pull off a big turn from their blue zone, it’s important to accept that “giving Gold means their next turn will be weak” and keep swinging the log without letting up on your attacks as much as possible. Even with a 4-cost, 6-damage attack, you should actively use “Wager” to keep the pressure on.
-
vs. Arakni, Marionette – The approach to landing disruptive attacks is similar to the Cindra matchup, but there are traps you need to watch out for. When your Arsenal has a Defense Reaction (DR) or on turns when you want to place a DR in your Arsenal, choose a “4-cost, 6-point” attack even if you’re in a situation where a “6-cost, 7-point” attack is possible. This is a crucial play to avoid triggering “Inertia Trap.”
-
vs. Vynnset – Since your opponent cannot effectively defend against overpower, your basic strategy is to consistently swing the log and aim to force damage onto them.
-
vs. Jarl – This matchup favors us due to the difference in weapon performance. Therefore, we always aim for a “7-point Overpower.” Since Jarl doesn’t tend to exploit the Gold we give them, we aggressively declare Wager every turn to seek a return.
-
vs. Valda – We use all our Defensive Reactions (DRs) to withstand the opponent’s Dominate attacks. Since Valda’s “Pummel” tends to slip through, careful play is required—defending with your hand based on the base damage and using DR to block any Pummels that come later. Against a Valda deck that prepares and spends AA to attack, we can repeatedly achieve “7-point overpower” with just two blue cards, giving us a structural advantage.
-
vs. Huntsman – Since “Remembrance” has disappeared from the meta, this matchup feels like one where you can push through by constantly swinging your log without worrying about running out of steam.
-
vs. Rhinar – Since Rhinar doesn’t hold back their hand for defense and attacks aggressively, you’re essentially unguarded, so the battle becomes a slugfest where you play defensively while keeping 4 resources in reserve. Throughout the match, conserve your armor as much as possible. At the decisive moment when both players’ life totals are in the 10s, pour all the Gold you’ve generated so far into “Good Time Chapeau” to maximize the log’s damage output, then charge in. The golden strategy is to withstand the opponent’s fierce counterattack by deploying all the equipment you’ve been saving, then finally pour the resources gained from “Wager” into creating an even massive attack to crush your opponent.
-
vs. Dash I/O – A disadvantageous matchup. Since the Log gets through, aim to secure 6 cost as much as possible and engage in a brawl. It’s a high-risk matchup where luck plays a major role, as it becomes difficult if the opponent deploys items early. Since you have no choice but to defend, pray that no bombs rain down.
-
vs. Oscilio – Whether facing Full Arcanite or Churios, the plan is to force the Log onto them. Since many Oscilio players tend to play defensively to avoid triggering Arcanite Skullcap, keep swinging the Log to chip away at their health. Along the way, it’s fine to hold back on Overpower and keep about 2 resources in reserve. With Arcanite Fortress, when playing Full Arcanite, use it to stop buff-type Arcanite spells; when playing “cheerios”, it’s fine to use it at any time after dealing 5 damage with E-Strike.
🛡️ Matches Where You Aim for Fatigue (Running Out of Deck)
In these matchups, make full use of defensive reactions and shields, wait for your opponent to run out of steam, and then switch to a counterattack.
-
vs. Ira – Maintaining “Nerves of Steel” on the board is the top priority. This allows you to continuously nullify Ira’s small-damage attacks from his short sword, depleting his resources and aiming for Fatigue.
-
vs. Ziggy – Basically, keep swinging the log to deal a high 7 damage every turn. Since your opponent will have to use their hand to effectively handle this, if you manage the game by trading damage effectively, you can ultimately force them into Fatigue.
-
vs. Kassai – It’s crucial to defend your 🐯 at all costs and target resources like “Old Man” generation. If you can effectively parry Kassai’s fierce attacks and deplete the opponent’s deck of cards that grant “Go Again,” victory (triggering fatigue) is virtually assured.
-
vs. Gravy – The gameplay plays out exactly like a game of “Whack-a-Mole.” The key to victory is a methodical approach: consistently playing “Rampart of the Ram’s Head” to defend against even the opponent’s small 1-point attacks, and steadily chipping away at their health.
-
vs Aurora – If you focus solely on defense and carefully stop your opponent’s attacks, their heavy card drawing and resource consumption will eventually cause them to run out of cards on their own and self-destruct.
-
vs. Puffin – You’ll need to play cautiously to ensure your “Rampart of the Ram’s Head” isn’t destroyed. If you can maintain the shield and keep your defenses solid, you’ll be able to proceed with the game to your advantage.
-
vs. Fang – The strategy is similar to the one against Aurora. By playing defensive cards precisely to counter their fierce attacks and consistently stopping them, your opponent will eventually run out of steam, allowing you to naturally force them into a time-out or fatigue.
-
vs. Dorinthea – If you consistently block Dorinthea’s weapon attacks and stop her attacks effectively, you can naturally wear her down.
Cards I Considered but Decided Not to Use
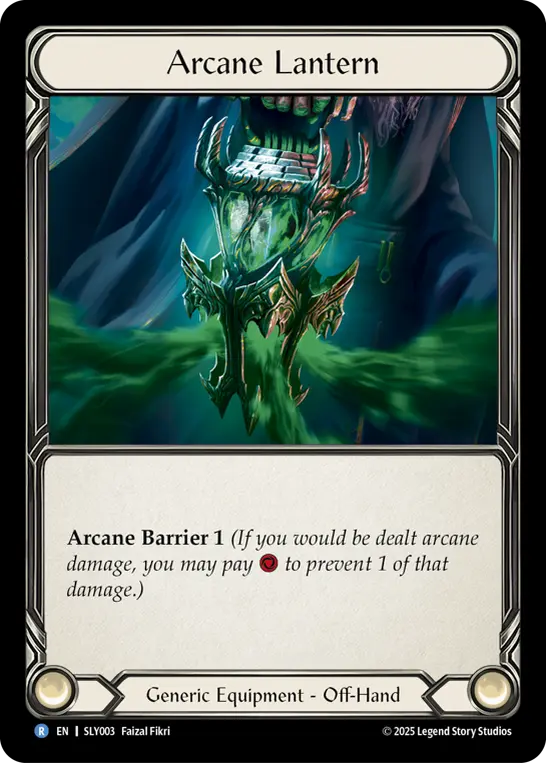
It gets stronger against full arcane, but I thought “Cheerios” was the mainstream choice, so I didn’t use it.
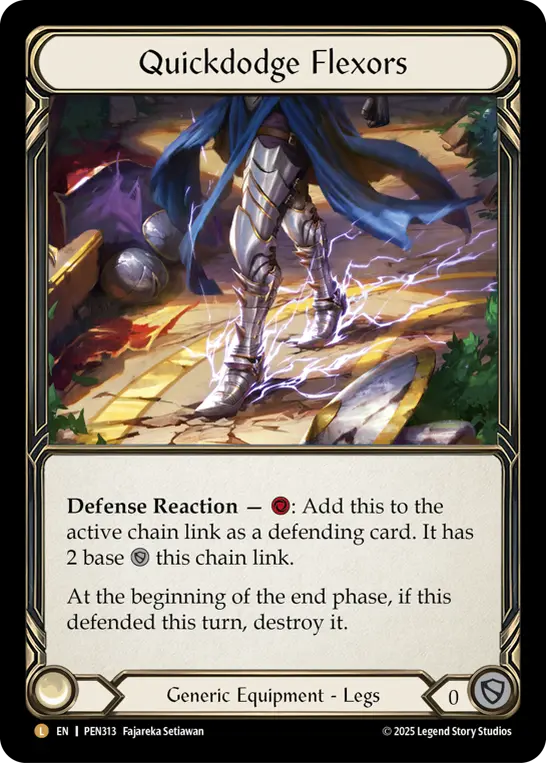
Personally, I think it’s nonsense that armor requires a cost to defend.
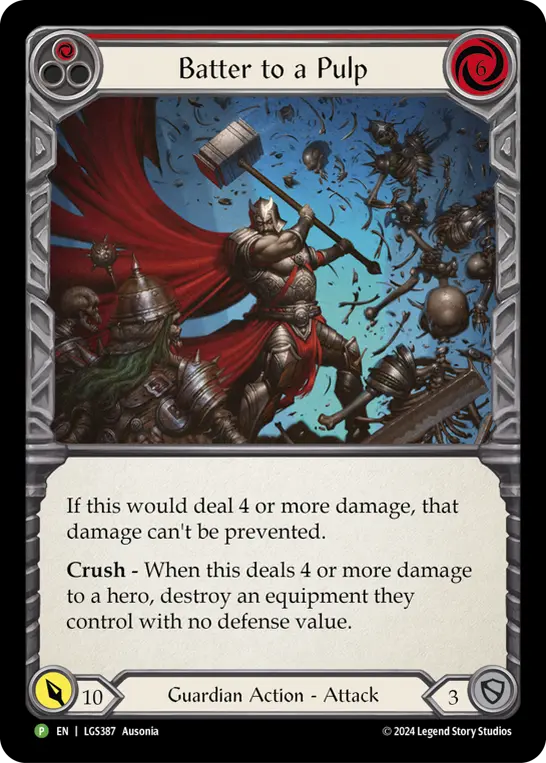
I feel like Gravy might work fine even without this.
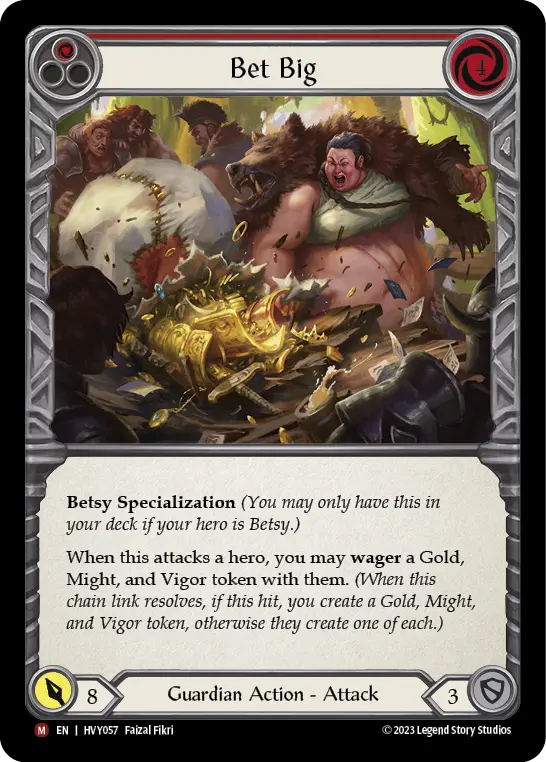
I don’t dislike it, but with the Log in the deck, I’m not sure how it’d fare…
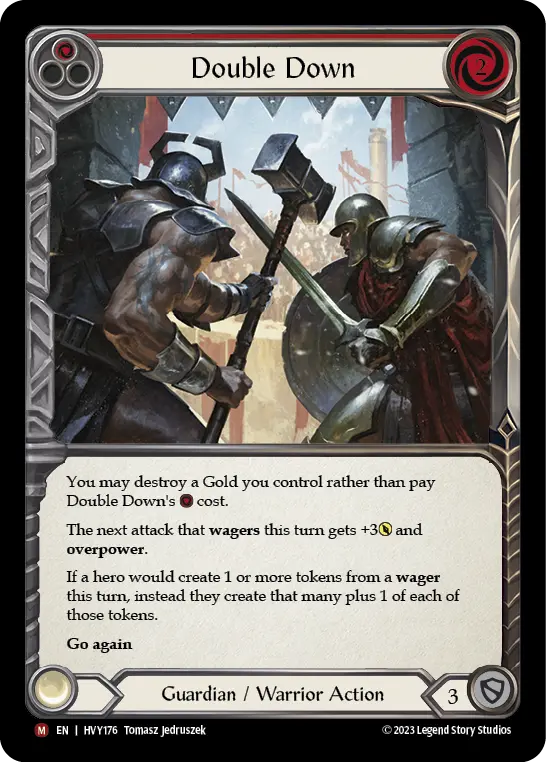
I think this card further solidifies our advantage, so I don’t think it’s necessary.
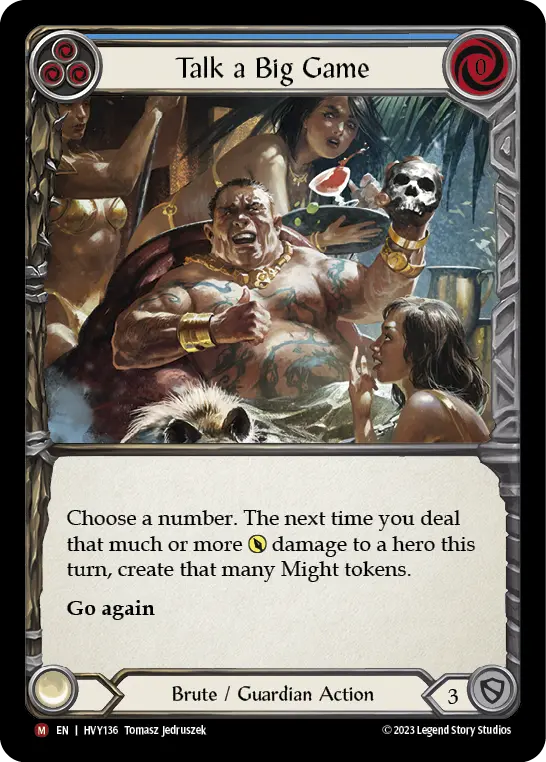
Similarly, it’s more of a “solidify the advantage” type, so unnecessary.
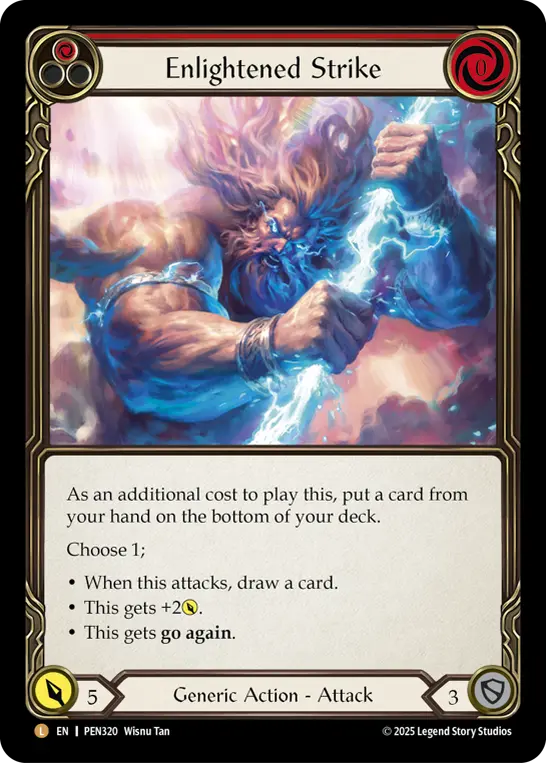
Gravy’s positioning isn’t great, so I don’t really need this, do I?
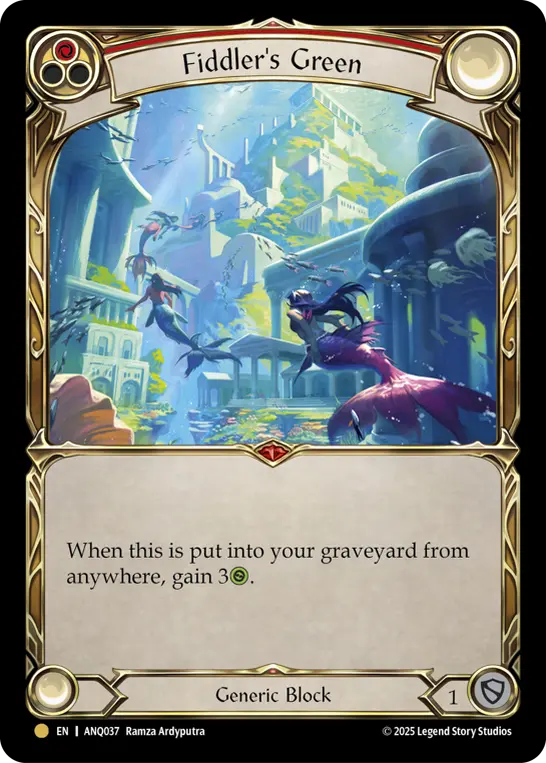
I don’t want to use this while Oscilio is in the deck.
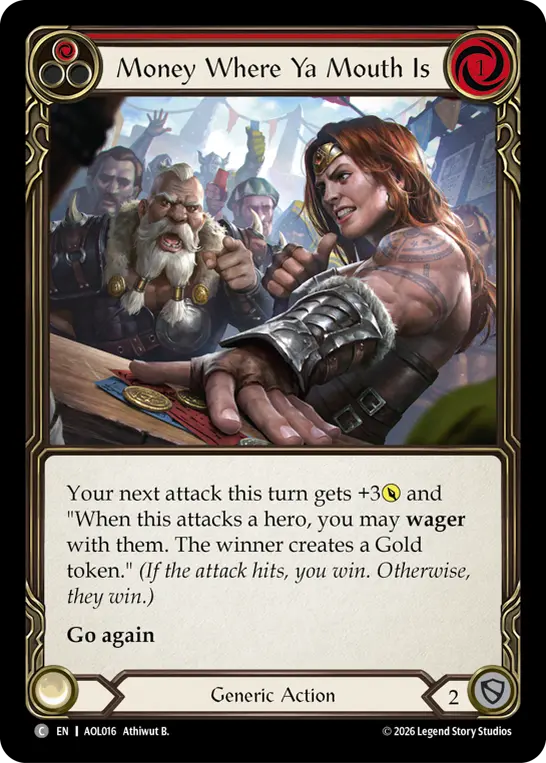
With the Log in the deck now…
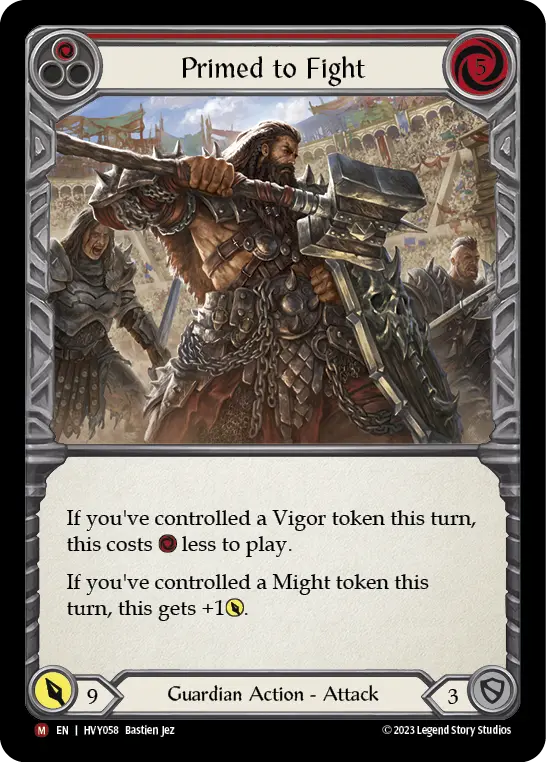
It’s Betsy’s Throne, but there weren’t many matches where I actually needed it.
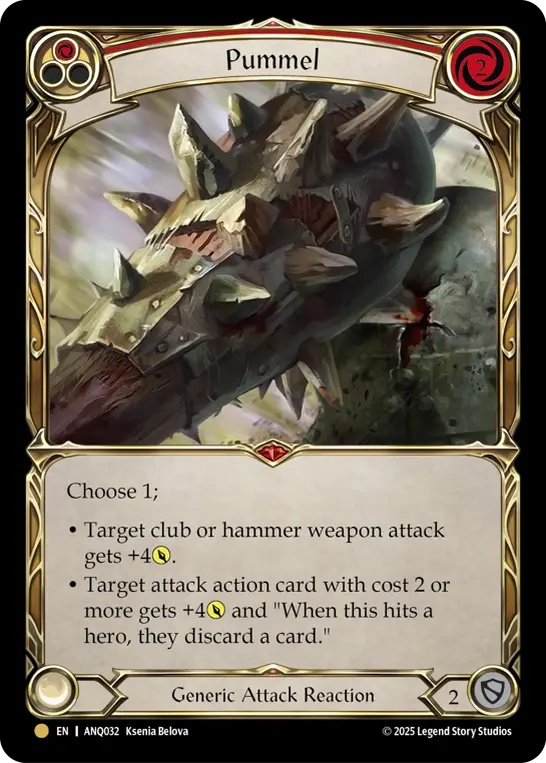
Not being able to ride the Log was just the worst—I’m never using this again.
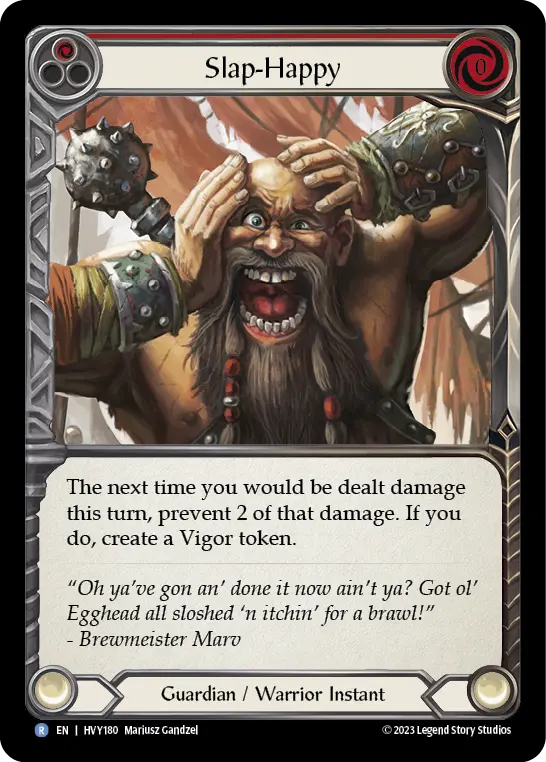
Personally, I don’t like that it only reduces damage by 2 points.
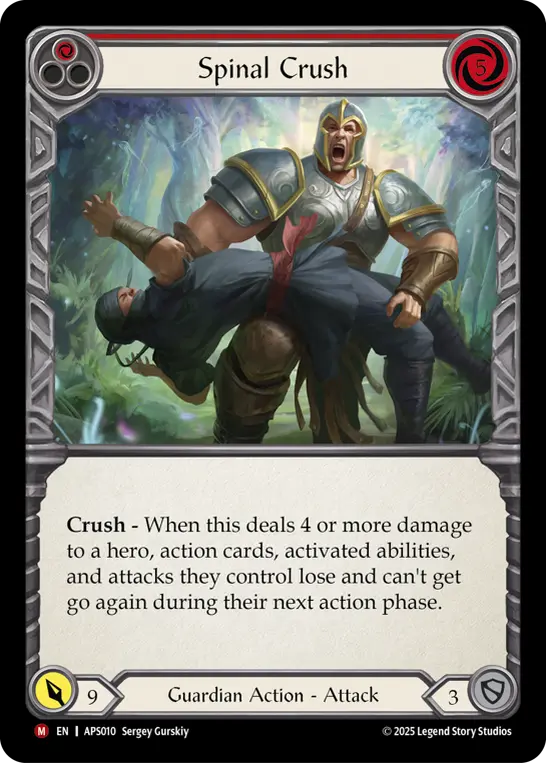
It only works on Sindra and Mario, yet the cost to cast it is high (in terms of damage and conditions). On top of that, it gets shattered by Damage Reduction and equipment, so the cost-benefit ratio is completely out of whack—I’m not using it, and probably won’t in the future either.
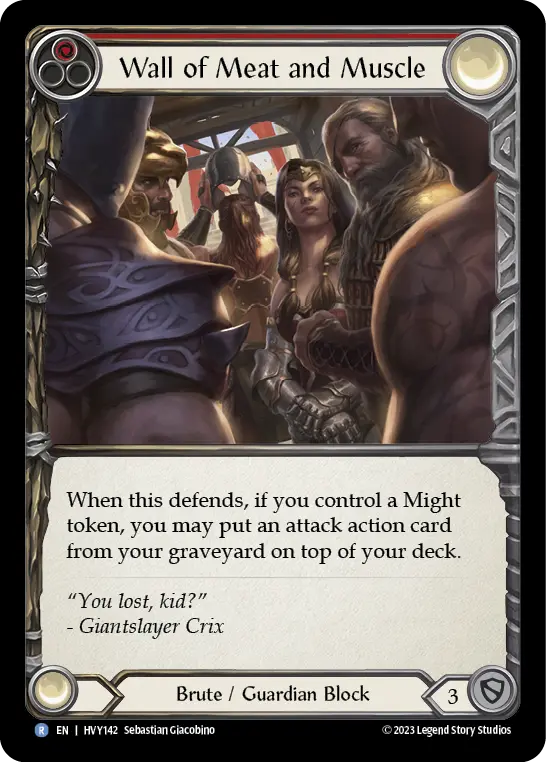
A fake Remembrance with defense stats—I might use it if Ziggy gets way too OP.
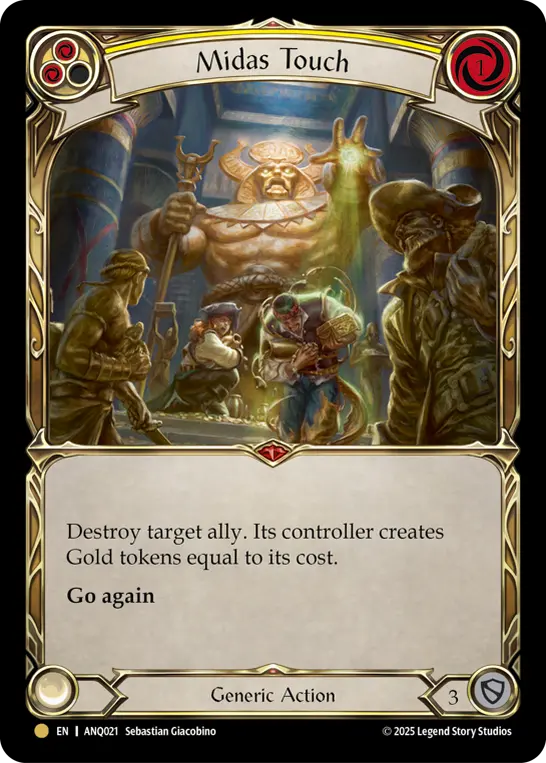
Depending on how well Maris performs, there’s a chance she’ll make a comeback.
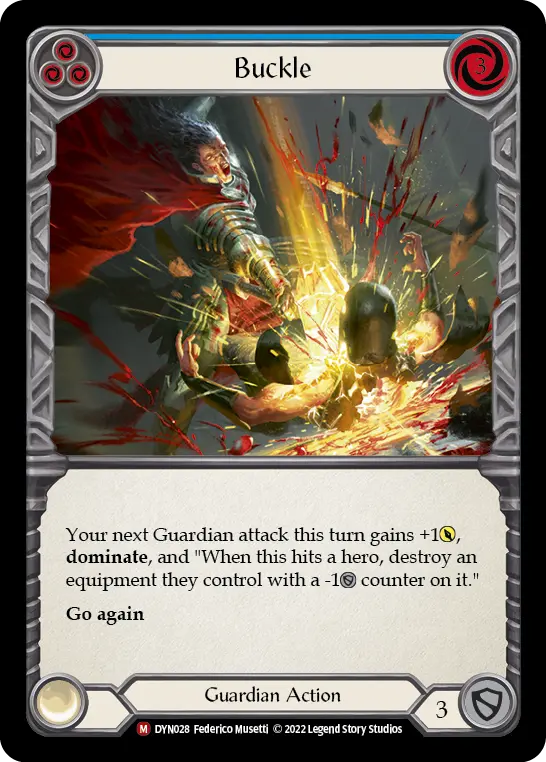
For people who don’t want to drop Teklovossen.
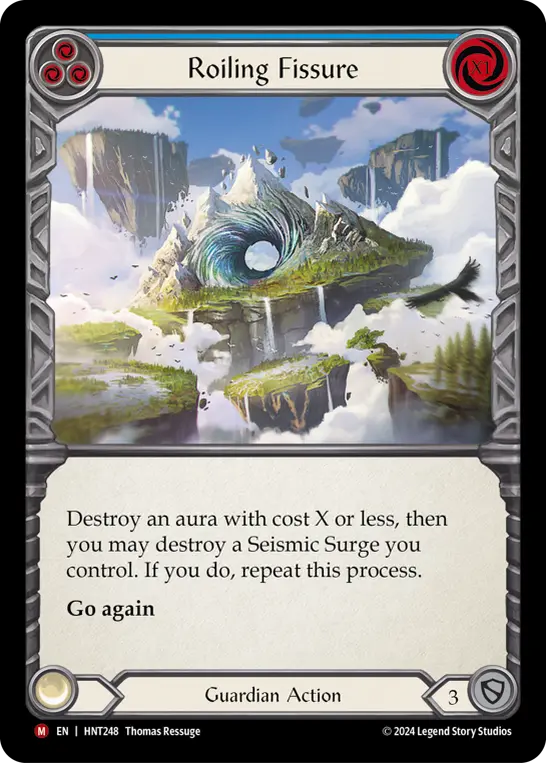
I’m not using this right now because the situation where you’d inevitably win just because of this card—as opposed to losing to a Crash—has disappeared.
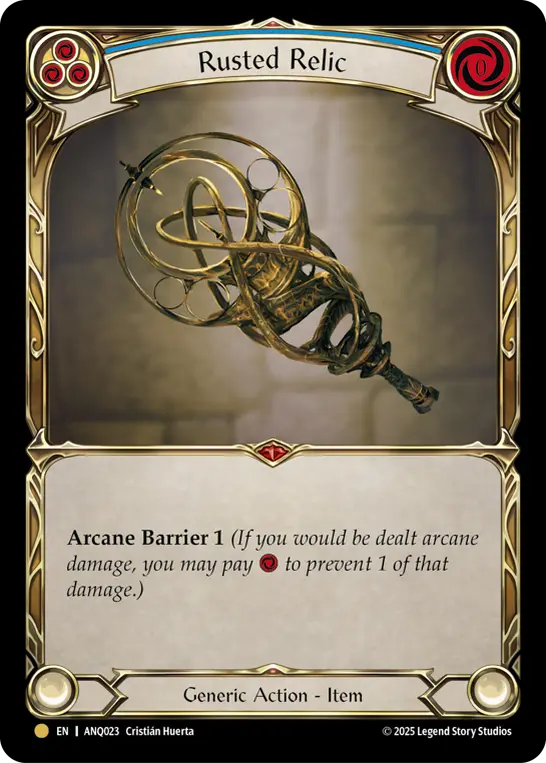
Those days are over.
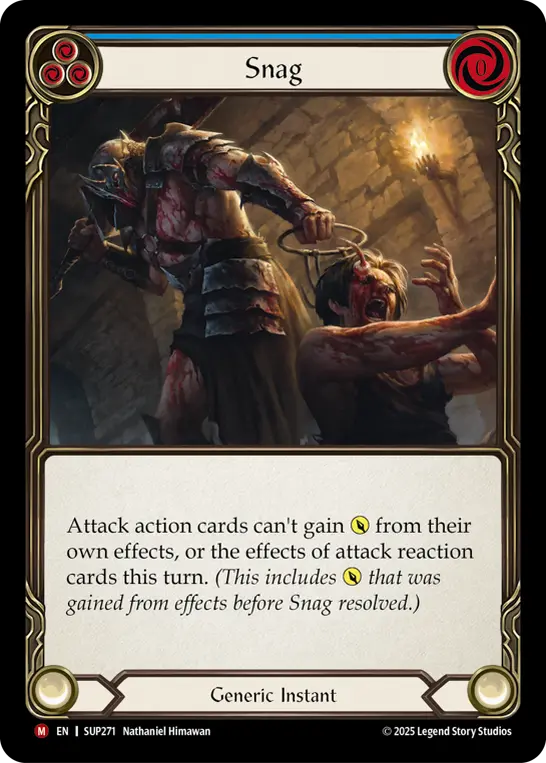
If Boltyn or Fatigue Guardians become more common, it might be worth reconsidering.
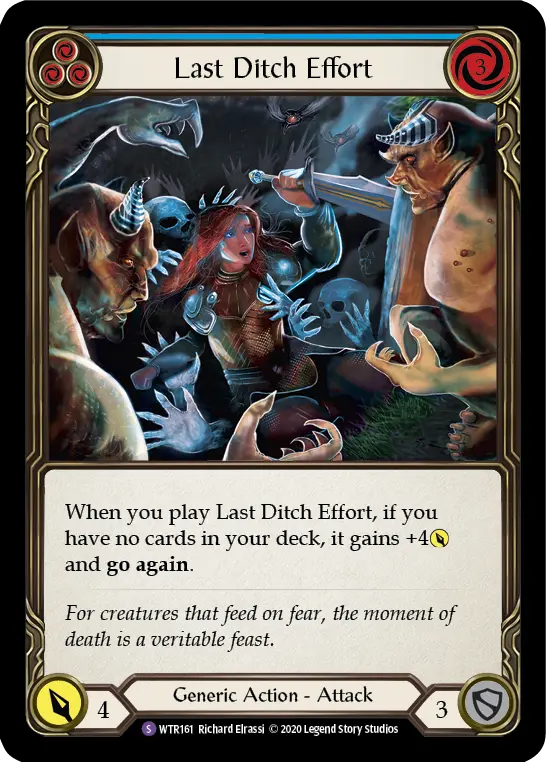
It might be usable against Jarl, who gets his head destroyed, but I don’t really think it’s necessary.
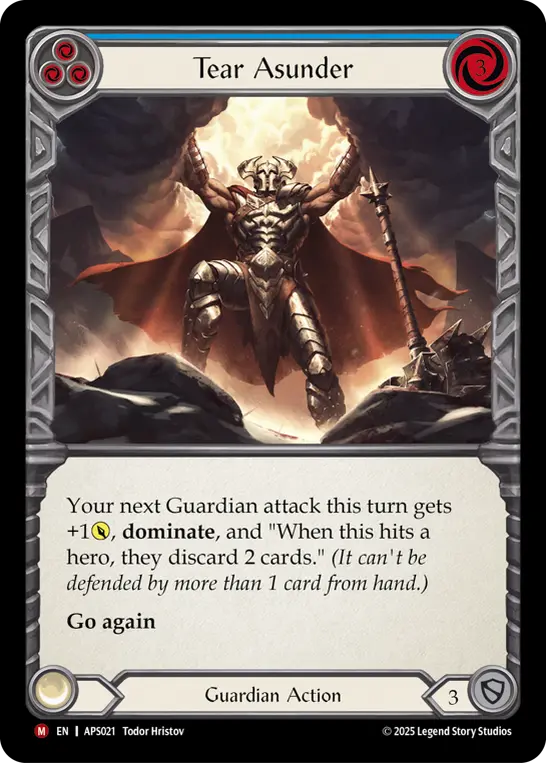
The situation where you’d lose to Crash or the opponent you wanted to target has disappeared.
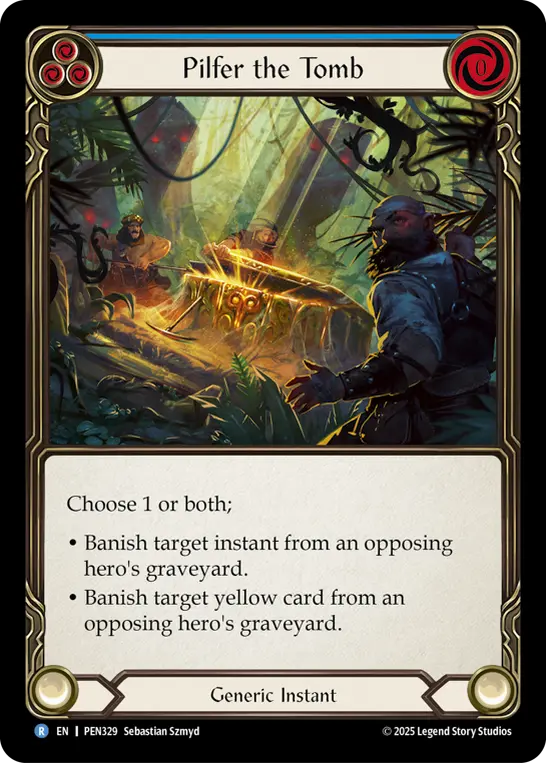
Gravy has decreased, Remembrance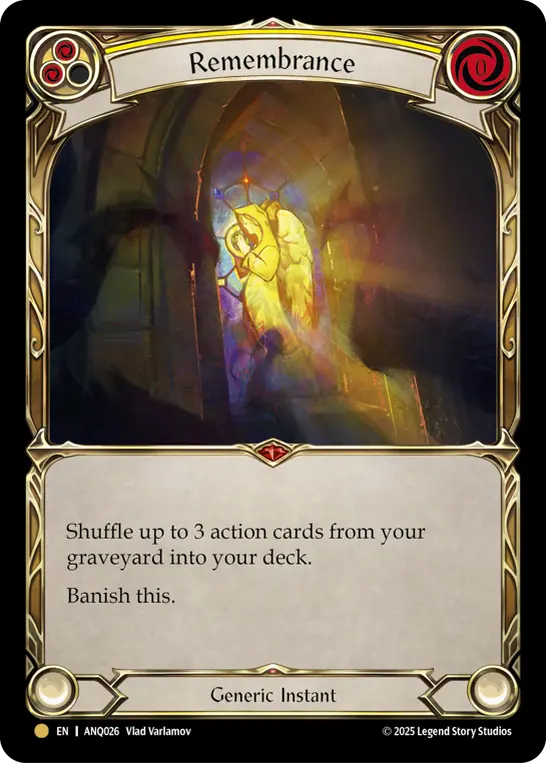 has been banned, and looping Oscilios have also decreased.
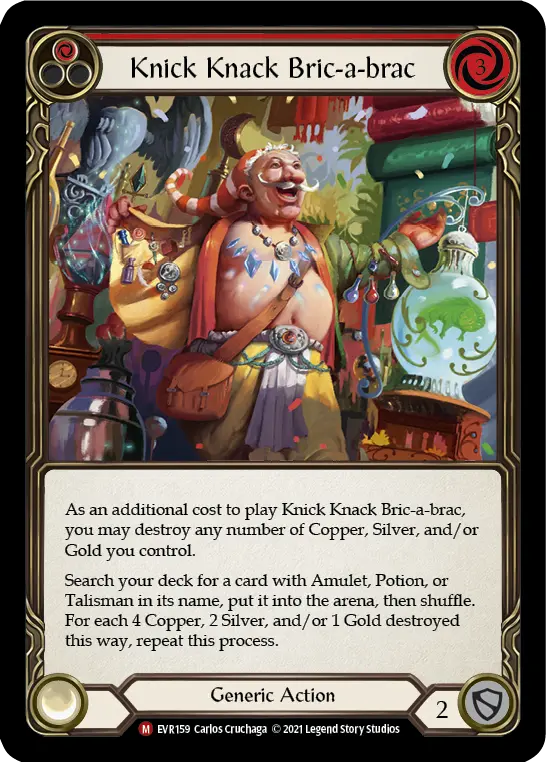
Because I can’t spare three slots for Huntsman.
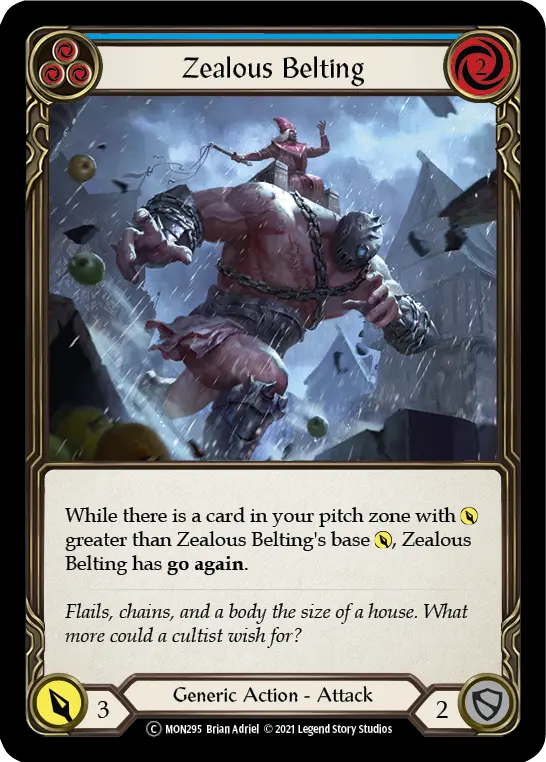
I used to run it because even the blue version could deal with Sawbones, Dock Hand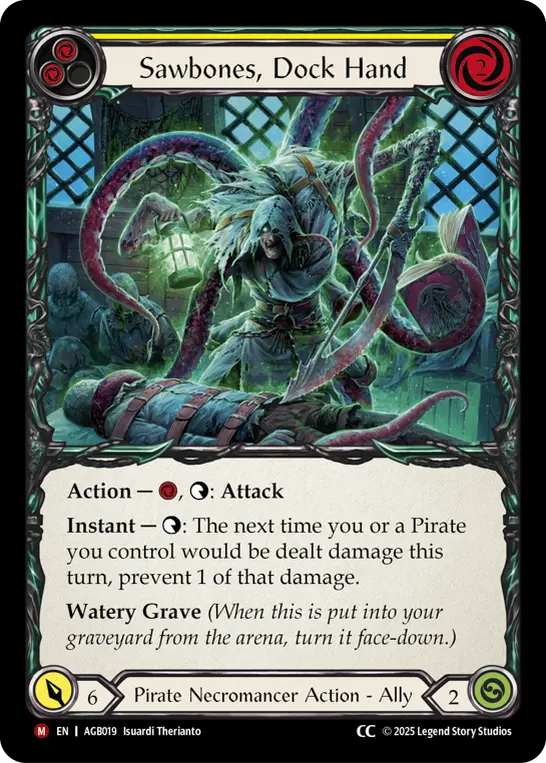 . However, ever since Fearless Confrontation came out, it’s just not viable anymore.
In Closing
Thank you for reading this far. I thoroughly researched the current metagame and Betsy’s potential to arrive at this deck list and playstyle. I hope I’ve been able to convey, even a little, the strength of this deck, which balances the overwhelming impact of “Pile Driver” with the resilience of Fatigue tactics.